A water damaged ceiling is a homeowner’s nightmare. Not only is it unsightly, but it can also lead to serious structural damage and health hazards if left untreated. Whether it’s a slow leak or a sudden burst pipe, understanding how to address this issue is crucial. This comprehensive guide will walk you through the process of treating a water damaged ceiling, from identifying the source of the leak to repairing and preventing future damage.
Identifying the Source of the Leak

Before you can begin repairing your water damaged ceiling, it’s essential to pinpoint the source of the leak. Ignoring this step can lead to recurring problems and further damage. Here are some common culprits:
- Plumbing Issues: Leaky pipes, faulty fixtures, or overflowing toilets are frequent causes of water damage. Check your plumbing system thoroughly for any signs of leaks or damage.
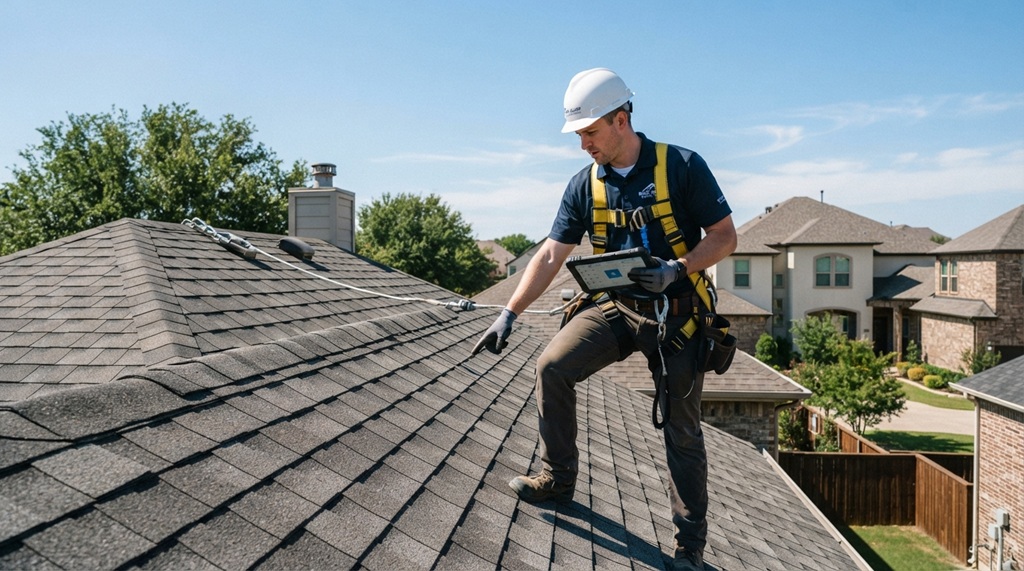
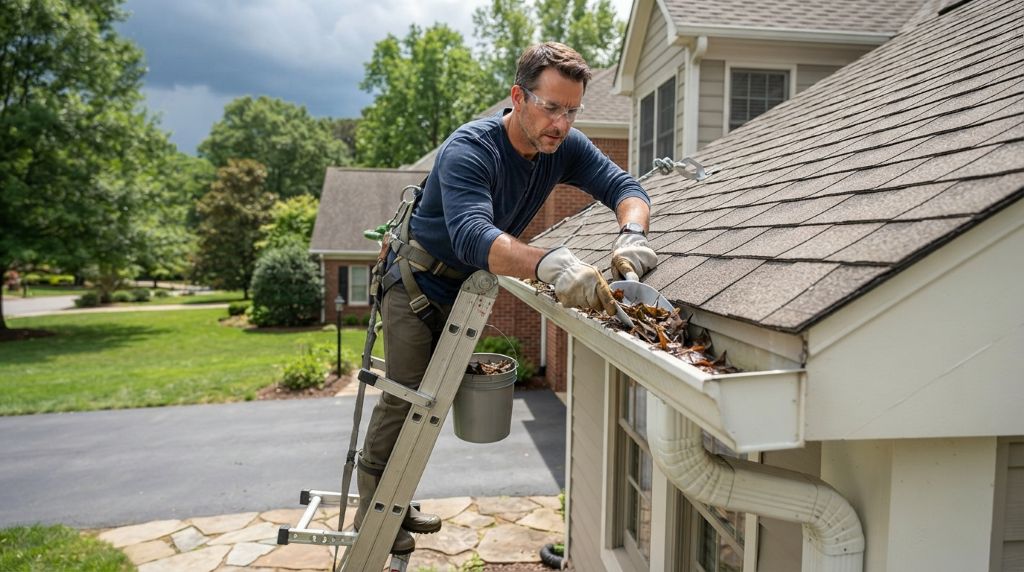
- Roof Leaks: Damaged shingles, cracked flashing, or clogged gutters can allow water to seep into your attic and damage your ceiling. Inspect your roof for any visible signs of wear and tear.
- Condensation: In areas with high humidity, condensation can build up in the attic and cause moisture damage to the ceiling. Ensure proper ventilation in your attic to prevent condensation buildup.
- Appliance Malfunctions: Appliances like washing machines, dishwashers, and water heaters can malfunction and cause leaks. Check your appliances for any signs of leaks or damage.
Assessing the Damage
Once you’ve identified the source of the leak, it’s time to assess the extent of the damage to your ceiling. This will help you determine the necessary repair approach.
- Minor Damage: If the damage is limited to a small area and the drywall is still intact, you may be able to repair it yourself with some simple DIY techniques.
- Moderate Damage: If the drywall is sagging or showing signs of mold growth, you’ll need to replace the affected section.
- Severe Damage: If the damage is extensive or involves structural components like joists or beams, you’ll need to hire a professional contractor to handle the repairs.
Safety Precautions
Before you begin any repair work, it’s crucial to take the necessary safety precautions to protect yourself and your home.
- Turn off the power: Before working on any electrical fixtures or wiring, turn off the power to the affected area at the breaker box.
- Wear protective gear: Wear gloves, eye protection, and a dust mask to protect yourself from dust, debris, and mold spores.
- Use caution when working with ladders: Ensure your ladder is stable and use a spotter if necessary.
- Ventilate the area: Open windows and doors to provide adequate ventilation while working.
Repairing the Damage
The repair process will vary depending on the extent of the damage to your ceiling. Here’s a general overview of the steps involved:
- Remove damaged materials: Carefully remove any loose or damaged drywall, insulation, or other materials.
- Clean the area: Clean the affected area thoroughly with a bleach solution to kill any mold or mildew.
- Repair or replace damaged framing: If any framing members are damaged, repair or replace them as needed.
- Install new drywall: Cut and install new drywall to replace the damaged section.
- Tape and mud the seams: Apply joint tape and drywall compound to the seams between the new and existing drywall.
- Sand and prime the area: Sand the repaired area smooth and apply a coat of primer to prepare it for painting.
- Paint the ceiling: Paint the repaired area to match the surrounding ceiling.
Preventing Future Damage
Once you’ve repaired your water damaged ceiling, it’s important to take steps to prevent future damage. Here are some tips:
- Regularly inspect your plumbing and appliances: Check for any signs of leaks or damage and address them promptly.
- Maintain your roof: Keep your roof in good condition by regularly inspecting it for damage and making necessary repairs.
- Ensure proper ventilation: Make sure your attic is properly ventilated to prevent condensation buildup.
- Install a water leak detection system: Consider installing a water leak detection system to alert you of any leaks as soon as they occur.
Reviews
Here are some reviews from homeowners who have dealt with water damaged ceilings:
- “I had a small leak in my bathroom ceiling that I was able to repair myself using the tips in this guide. It was definitely a DIY project, but it saved me a lot of money on hiring a contractor.” – John S.
- “My roof leaked during a heavy rainstorm and caused significant damage to my ceiling. I had to hire a professional to handle the repairs, but they did a great job and my ceiling looks good as new.” – Sarah P.
- “I installed a water leak detection system in my home after experiencing a major leak in my kitchen ceiling. It gives me peace of mind knowing that I’ll be alerted immediately if there’s ever another leak.” – Mike D.
Pros and Cons of DIY vs. Professional Repair
DIY Repair:
Pros:
- Cost-effective
- Sense of accomplishment
- Can be a relatively simple project for minor damage
Cons:
- Time-consuming
- May require specialized tools and skills
- Not suitable for extensive or complex damage
Professional Repair:
Pros:
- Expertise and experience
- Can handle complex repairs
- May be covered by insurance
Cons:
- More expensive
- Can be time-consuming to find a reputable contractor
FAQ
Q: How much does it cost to repair a water damaged ceiling?
A: The cost of repairing a water damaged ceiling can vary significantly depending on the extent of the damage, the type of materials used, and the labor costs in your area. Minor repairs may cost a few hundred dollars, while major repairs can cost several thousand dollars.
Q: Can I paint over a water stain on my ceiling?
A: It’s not recommended to paint over a water stain without first addressing the underlying cause of the damage. Painting over the stain will only temporarily conceal the problem and could lead to further damage.
Q: How long does it take for a water damaged ceiling to dry?
A: The drying time for a water damaged ceiling will depend on the extent of the damage, the type of materials affected, and the environmental conditions. It can take anywhere from a few days to several weeks for a ceiling to dry completely.
Q: Does insurance cover water damage to ceilings?
A: Most homeowners insurance policies cover water damage caused by sudden and accidental events, such as a burst pipe or a storm. However, coverage may vary depending on your specific policy and the cause of the damage.
Q: How can I prevent water damage to my ceiling in the future?
A: You can prevent water damage to your ceiling by regularly inspecting your plumbing and appliances, maintaining your roof, ensuring proper ventilation, and installing a water leak detection system.
By following the steps outlined in this guide, you can effectively treat a water damaged ceiling and prevent future problems. Remember to prioritize safety and address the underlying cause of the damage to ensure a long-lasting repair. Whether you choose to tackle the repair yourself or hire a professional, taking action promptly is crucial to protecting your home and your health.
Read More:
Temporary Fixes Until the Pros Arrive
Guide to the Fastest Roof Leak Fixes