
A tin roof, known for its durability and classic aesthetic, can be a stalwart guardian against the elements. However, like any roofing material, it’s not impervious to the relentless forces of nature and the simple passage of time. A dripping sound in the attic or the tell-tale watermark on your ceiling can signal a breach in this metallic shield – a tin roof leak.
Addressing these leaks promptly and effectively is crucial to prevent minor annoyances from escalating into major structural damage, mold infestations, and costly repairs. This informative article delves into the intricacies of tin roof leak repair, offering insights into causes, identification, repair methods, and preventative measures, ensuring your home remains safe and dry.
Understanding Why Your Tin Roof Is Leaking: Common Culprits and Hidden Saboteurs
Before a successful repair can be undertaken, understanding the root cause of the leak is paramount. Tin roofs, while robust, have specific vulnerabilities. Ignoring these can lead to recurring problems and mounting frustration.
One of the most frequent offenders is failed fasteners. Over time, the screws or nails securing the tin panels can loosen due to thermal expansion and contraction – the natural movement of the metal as temperatures fluctuate. The rubber or neoprene washers beneath these fasteners can also degrade from UV exposure and weathering, losing their sealing capability. When fasteners become loose, rust around the fastener hole, or the washers crack, water has an easy entry point. Similarly, improperly driven fasteners – those driven too tight, too loose, or at an angle – can create immediate vulnerabilities from day one of installation.
Rust and corrosion are another significant concern, especially for older tin roofs or those made from less resilient alloys. While modern tin (often terne-coated steel or galvanized steel) offers good corrosion resistance, this protective layer can be compromised by scratches, abrasions from falling debris, or prolonged exposure to moisture in areas where water tends to pool. Once rust takes hold, it can eat through the metal, creating pinholes or larger perforations that allow water ingress. Coastal areas with salt-laden air or industrial zones with corrosive pollutants can accelerate this process.
Flashing failures are a notorious source of leaks on all roof types, and tin roofs are no exception. Flashing consists of metal pieces installed around roof penetrations like chimneys, vents, skylights, and at roof valleys or where a roof meets a wall. Its purpose is to direct water away from these vulnerable junctions. If flashing is poorly installed, becomes dislodged by wind or debris, or deteriorates over time, it can no longer perform its critical function, leading to significant leaks. The sealant used around flashing can also dry out and crack, creating gaps.
Seam and overlap issues can also lead to unwelcome drips. Tin roof panels are typically overlapped and seamed together. If these seams weren’t properly sealed during installation, or if the sealant has degraded, wind-driven rain can be forced underneath the panels. Capillary action can also draw water upwards between poorly sealed overlaps. Furthermore, punctures and impact damage from falling branches, hailstones, or even careless foot traffic during maintenance can create direct pathways for water. Even small dents can sometimes disrupt the natural flow of water, leading to pooling and an increased risk of leaks over time.
Finally, poor initial installation or previous faulty repairs can be underlying causes that manifest as leaks years later. Using incompatible materials that cause galvanic corrosion, insufficient panel overlap, or inadequate provision for thermal movement are all installation errors that can doom a tin roof to premature leakage.
Pinpointing the Source: Detective Work for a Drip-Free Home
Identifying the exact location of a leak on a tin roof can sometimes be a straightforward affair, but often it requires a bit of detective work. Water can travel a considerable distance from the entry point on the roof to where it eventually becomes visible inside your home.
The most obvious signs indoors are water stains on ceilings or walls, often appearing as discolored patches, streaks, or even bulging plaster or drywall. During or immediately after rainfall, you might hear audible dripping or notice active water. In the attic, look for damp insulation, mold or mildew growth on the underside of the roof deck or rafters, and, of course, actual water. On a sunny day, carefully (and safely) entering a darkened attic and looking for pinpricks of light shining through the roof can sometimes reveal the location of holes or failed fasteners.
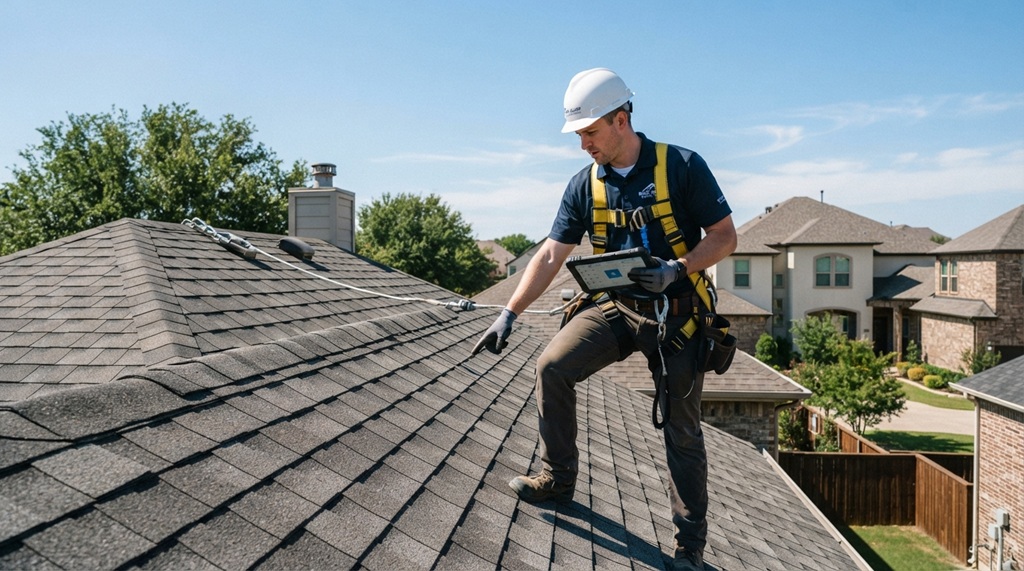
Externally, a visual inspection of the roof (ideally with binoculars from the ground or from a securely placed ladder if you are comfortable and it’s safe to do so) can reveal several clues. Look for obvious holes, punctures, or tears in the metal panels. Check for loose, missing, or rusted fasteners. Examine the condition of the flashing around chimneys, vents, and other penetrations – is it tight against the roof and the penetration, or are there gaps? Are there signs of rust or corrosion, particularly in areas where water might pool or where different metals meet? Pay attention to the seams and overlaps between panels; do they look tight and well-sealed? Accumulations of leaves, branches, and other debris can trap moisture against the roof surface, promoting corrosion and potentially blocking drainage paths, so note these areas as well.
For stubborn, hard-to-find leaks, a water test using a garden hose can be effective, but this is often best left to professionals to avoid causing further water damage. This involves systematically wetting down sections of the roof, starting from the lowest point and working upwards, while an assistant inside watches for water ingress. This methodical approach helps to isolate the leak’s origin. Remember, the point where water enters the roof is often higher up than where it appears inside.
Tackling the Leak: Repair Strategies for Your Tin Roof
Once the source of the leak has been identified, the next step is the repair. The appropriate method will depend on the nature and extent of the damage. Safety should always be the foremost concern when working on a roof. Tin roofs can be slippery, especially when wet or covered in dew. Always use appropriate safety gear, including non-slip footwear, gloves, and potentially a safety harness, especially on steeper pitches. If you are not comfortable or experienced working at heights, or if the damage is extensive, it’s always best to call a qualified roofing professional.
For Minor Punctures, Small Holes, or Loose Fasteners:
Small issues can often be addressed with relative ease. The first step is always to thoroughly clean the damaged area. Remove any dirt, rust, debris, or old, failing sealant using a wire brush, sandpaper, or an appropriate cleaning solution. The surface must be clean, dry, and sound for any sealant or patch to adhere properly.
For tiny pinholes or minor cracks, a high-quality metal roofing sealant specifically designed for exterior use can be applied. These are typically silicone-based or polyurethane-based and offer excellent adhesion, flexibility, and UV resistance. Apply the sealant generously with a caulking gun, ensuring it completely covers the hole or crack and extends slightly beyond it. Smooth the sealant with a putty knife if necessary.
For loose fasteners, the best approach is often to remove the old fastener, clean the area, apply a small dab of roofing sealant into the hole and around its perimeter, and then install a new, slightly larger-gauge screw with a fresh, properly sized rubber or neoprene washer. Be careful not to overtighten the new fastener, as this can damage the washer or the panel. If the existing fastener is simply loose but the washer is in good condition, it may sometimes be possible to tighten it, but replacing it often provides a more durable repair.
Roofing tape or peel-and-stick patches specifically designed for metal roofs can also be an effective solution for small holes or cracks after proper surface preparation. These tapes are typically made of a butyl adhesive or similar waterproof material and conform well to the roof’s profile.
Related: Roof Leak Got You Covered? Temporary Fixes Until the Pros Arrive
For More Significant Damage: Larger Holes, Corrosion, or Seam Issues:
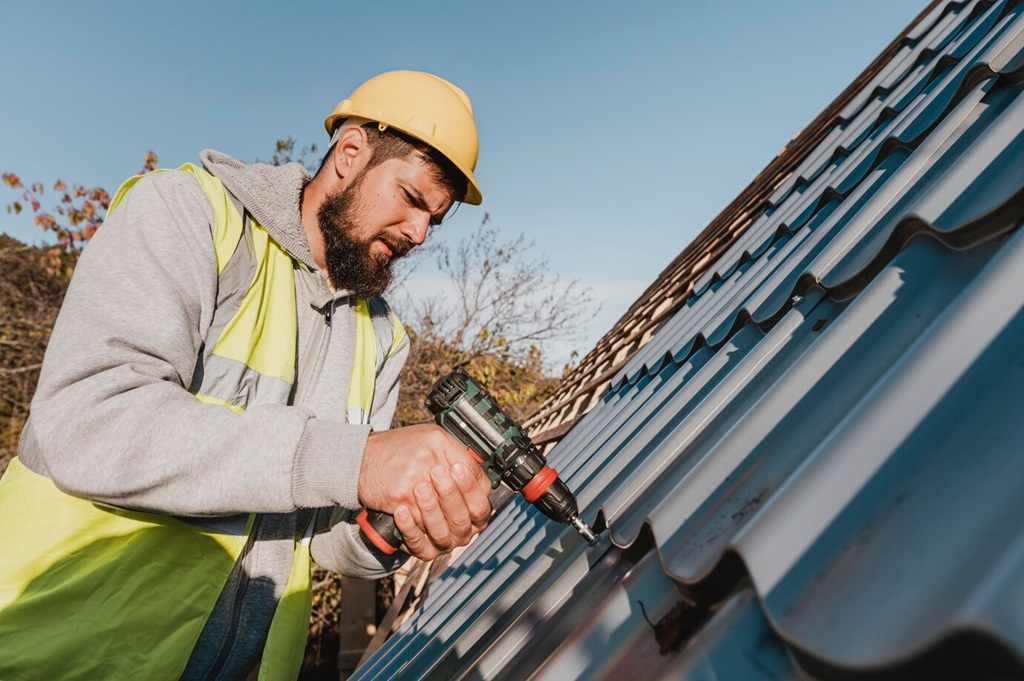
When dealing with larger holes, areas of significant corrosion, or failing seams, more robust repair methods are required.
If a section of a panel has a larger hole or is severely corroded, patching with a new piece of metal is often the best solution. Cut a patch from a compatible metal (the same type as the existing roof if possible, to avoid galvanic corrosion) that is larger than the damaged area by at least two inches on all sides. Clean both the roof surface and the patch thoroughly. Apply a generous layer of high-quality metal roofing sealant around the perimeter of the damaged area on the roof. Press the patch firmly into the sealant, ensuring good contact. Secure the patch with new roofing screws fitted with sealing washers, placed around the perimeter of the patch. Finally, apply another bead of sealant around the edges of the patch to create a watertight seal.
For failing seams or overlaps, the old sealant should be carefully removed, the area cleaned thoroughly, and then a new, continuous bead of high-quality metal roofing sealant applied before re-fastening the seam if necessary. In some cases, specialized seam tapes can also be used.
Flashing repairs can be complex and are often best left to professionals. If the flashing is loose, it may need to be re-secured and resealed. If it’s significantly damaged or corroded, it will likely need to be replaced. This involves carefully removing the old flashing, preparing the area, installing new flashing with proper overlaps and securement, and then sealing all edges meticulously.
When to Call the Professionals:
While some minor tin roof repairs can be tackled by a handy homeowner, there are many situations where calling a professional roofing contractor is the wisest course of action. If you are unsure of the leak’s source, if the damage is extensive (e.g., multiple leaks, large corroded areas, significant panel damage), if the roof is steep or difficult to access safely, or if you lack the necessary tools and experience, it’s time to call in an expert. Professionals have the training, safety equipment, and diagnostic tools to accurately identify and repair leaks effectively, and they can often spot underlying issues that a DIYer might miss. Furthermore, professional repairs often come with a warranty, providing peace of mind. Attempting complex repairs without the proper knowledge can sometimes lead to more significant damage and void any existing roof warranties.
Related: Stop the Drip: Your Guide to the Fastest Roof Leak Fixes
Prevention is Better Than Cure: Maintaining Your Tin Roof
Regular inspection and proactive maintenance can significantly extend the life of your tin roof and prevent many leaks from occurring in the first place.
- Inspect Regularly: Aim to inspect your roof at least twice a year, typically in the spring and fall, and after any major storm. Look for the issues mentioned earlier – loose fasteners, rust, damaged flashing, debris accumulation, and any signs of wear and tear.
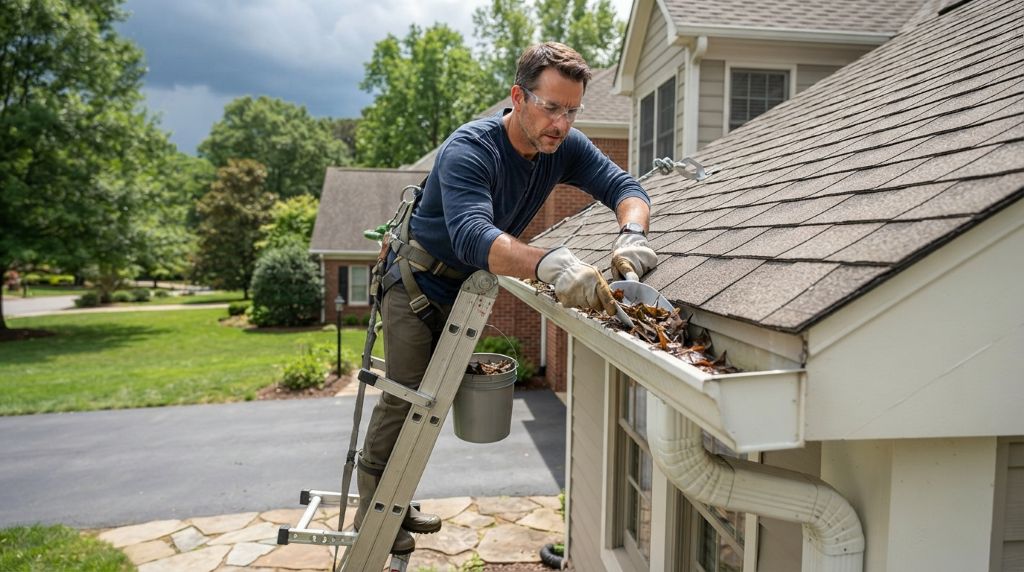
- Keep it Clean: Remove leaves, branches, pine needles, and other debris from the roof surface and gutters. Debris traps moisture, which can lead to corrosion, and can also block drainage paths, causing water to back up under panels.
- Trim Overhanging Branches: Trees too close to the roof can scrape the surface, damaging protective coatings, and drop debris. Keep branches trimmed back.
- Address Minor Issues Promptly: Don’t let small problems fester. A tiny rust spot or a slightly loose fastener is much easier and cheaper to fix than a large corroded panel or significant water damage.
- Check Sealants: Periodically inspect sealant around flashing, vents, and seams. If it appears cracked, brittle, or is pulling away, it should be removed and replaced.
- Ensure Proper Drainage: Make sure gutters and downspouts are clear and functioning correctly to carry water away from the roof and foundation.
- Consider Protective Coatings: For older tin roofs, or if the original protective coating is wearing thin, applying a reflective roof coating can help to protect against corrosion, reduce thermal movement, and even improve energy efficiency. Consult with a professional to determine if this is a suitable option for your roof.
A tin roof is a valuable asset to your home. By understanding the common causes of leaks, knowing how to identify them, addressing repairs thoughtfully (whether DIY or professional), and committing to regular maintenance, you can ensure your tin roof continues to provide reliable protection for decades to come. Don’t let a small drip turn into a deluge – timely action is key to a dry and happy home.
Related: How to Repair Roof Shingles: A DIY Guide
People Also Ask (FAQs)
Q1: How can I tell if my tin roof leak is an emergency?
A: A tin roof leak is generally considered an emergency if there is significant water actively entering your home, causing immediate damage to ceilings, walls, or electrical systems, or if there’s a risk of structural damage. Multiple active drips, large, rapidly growing water stains, or sagging ceilings are all indicators of an emergency requiring immediate temporary measures (like tarps on the roof, if safe, or buckets indoors) and a call to a professional roofer as soon as possible.
Q2: What is the average cost to repair a tin roof leak?
A: The cost can vary widely depending on the extent of the damage, the accessibility of the roof, your geographic location, and whether you hire a professional. Minor repairs like sealing a few fasteners might cost $100-$300. More significant repairs, like patching a panel or repairing flashing, could range from $300 to $1,000 or more. If entire panel replacement or extensive corrosion treatment is needed, costs can be significantly higher. Fixr.com suggests a national average cost for metal roof repair (which includes tin) to be between $500 and $2,000, with most homeowners paying around $1,250 for restoration work.
Q3: Can I use Flex Seal or similar products on a tin roof leak?
A: While products like Flex Seal are marketed for quick fixes, they are generally considered temporary solutions for metal roofs, including tin. For a long-lasting and reliable repair, it’s better to use materials specifically designed for metal roofing, such as high-quality metal roofing sealants (silicone or polyurethane-based), roofing cement compatible with metal, or professional-grade patches and tapes. Flex Seal may not adhere well long-term, can crack under UV exposure, and may make future permanent repairs more difficult.
Q4: How long does a tin roof repair usually last?
A: The longevity of a tin roof repair depends heavily on the quality of the materials used, the thoroughness of the preparation and application, and the underlying condition of the roof. A well-executed repair using high-quality sealants or patches can last for many years, potentially 10-20 years or even longer, especially if properly maintained. However, temporary fixes may only last a few months to a year. Regular inspections of repaired areas are crucial.
Q5: Is it better to repair or replace a leaking tin roof?
A: This depends on several factors: * Age of the roof: If the roof is nearing the end of its typical lifespan (tin roofs can last 40-70 years or more with good maintenance), and repairs are becoming frequent, replacement might be more cost-effective in the long run. * Extent of the damage: Isolated leaks or minor issues are usually repairable. However, if there’s widespread corrosion, multiple large leaks, or significant panel damage, replacement might be the better option. * Cost of repairs vs. replacement: Get quotes for both. If the cost of extensive repairs approaches a significant percentage (e.g., 30-50%) of the cost of a new roof, replacement could be a smarter investment. * Future plans: If you plan to sell your home soon, a new roof can be a selling point, whereas a frequently repaired older roof might be a concern for buyers.
Q6: What are the best sealants for tin roof leaks?
A: The best sealants for tin roofs are typically high-quality, 100% silicone or polyurethane-based elastomeric sealants specifically designed for metal roofing and outdoor use. These offer excellent adhesion to metal, flexibility to accommodate thermal movement, UV resistance, and long-term waterproofing. Butyl tapes are also excellent for sealing seams and around fasteners. Always ensure the sealant is compatible with the specific type of metal your tin roof is made of and any existing coatings. Avoid acrylic latex caulk for exposed exterior metal roof repairs as it tends to crack and degrade more quickly.
Conclusion
A leaking tin roof, while a cause for concern, is a manageable problem with the right knowledge and approach. From diligently identifying the subtle signs of water ingress to understanding the common culprits like failed fasteners, corrosion, and flashing issues, homeowners can take proactive steps. Whether opting for a DIY solution for minor fixes – always prioritizing safety and using appropriate materials – or enlisting the expertise of seasoned professionals for more complex scenarios, the goal remains the same: restoring the integrity of your metallic shield.
Crucially, the longevity of any repair, and indeed the roof itself, hinges on consistent preventative maintenance. Regular inspections, timely cleaning, and immediate attention to small concerns can save significant expense and stress down the line. By embracing these practices, your tin roof can continue to perform its vital protective role for many years, ensuring your home remains a dry, secure, and comfortable haven against the elements. Addressing tin roof leaks promptly isn’t just about fixing a drip; it’s about preserving the structural health and value of your property.