
Hey there, homeowner! Ever glance up at your ceiling and notice a pesky water stain? Or maybe you heard a concerning thump on the roof during the last windstorm? Yeah, that might be your roof shingles talking. Don’t worry, though! Roof shingle repair doesn’t always have to mean a hefty bill from a contractor. With a little know-how and some elbow grease, you can tackle many common shingle problems yourself.
Now, I’m not saying you should go full-on Bob the Builder and replace your entire roof solo (unless you’re, like, really handy). But patching up minor damage? Totally doable. Think of it like this: you wouldn’t call a plumber every time a faucet dripped, right? Sometimes a little DIY magic is all you need.
According to a study by the National Roofing Contractors Association, the average roof replacement can cost upwards of $12,000! Yikes! So, let’s learn how to keep your roof happy and your wallet even happier.
Why Roof Maintenance Matters
Your roof is kind of a big deal. It’s your home’s first line of defense against the elements. Rain, snow, sun, wind… your roof takes a beating. And just like anything else exposed to the elements, it requires a little TLC from time to time.
Think of your roof like your car. You wouldn’t drive it for thousands of miles without an oil change or checking the tires, right? Well, your roof requires check-ups too. Regular maintenance can catch small problems before they turn into big, expensive headaches.
Common Shingle Problems
Before we dive into repairs, let’s talk about what can go wrong with your shingles. Here are some usual suspects:
1. Cracked Shingles
This is a pretty common issue, especially as shingles age. They can crack due to extreme temperatures, hail, or even just plain old wear and tear. Think of it like your skin getting dry and cracked in the winter. Not fun!
2. Missing Shingles
Strong winds can rip shingles right off your roof. It’s like losing a puzzle piece—it leaves a gap that makes your roof vulnerable to leaks.
3. Curling Shingles
Shingles can curl up at the edges or even cup in the middle. This usually happens when they’re old or improperly installed. It’s like when you leave a potato chip out in the sun too long—it gets all warped and weird.
4. Granule Loss
Those little granules on your shingles aren’t just for looks. They protect the shingles from the sun’s harmful UV rays. When they start to wear off, your shingles become more susceptible to damage. It’s like sunscreen for your roof!
Tools You’ll Need for Shingle Repair
Alright, ready to get your hands dirty? Here’s what you’ll need to gather before you climb that ladder:
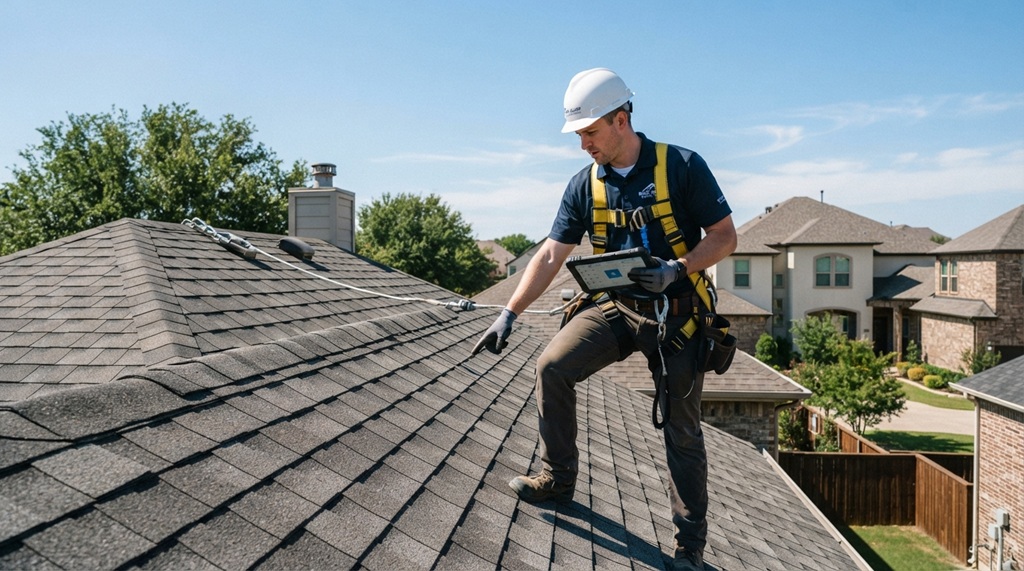
- Safety First! Get a sturdy ladder, gloves, and safety glasses. Maybe even a helmet if you’re feeling extra cautious. Safety is no joke, folks!
- Flat pry bar: This is your go-to tool for lifting and removing shingles.
- Hammer: For nailing down those shingles nice and snug.
- Roofing nails: Make sure they’re the same type and size as the ones already on your roof.
- Utility knife: Handy for cutting shingles and trimming edges.
- Roofing cement: This sticky stuff is like glue for your shingles.
- Replacement shingles: Obviously! Try to match the color and style of your existing shingles.
Pro Tip: If you’re not sure what type of shingles you have, take a sample to your local hardware store. They can help you find a match.
How to Repair Cracked Shingles
Cracked shingles are a relatively easy fix. Here’s the lowdown:
- Apply roofing cement: Gently lift the cracked shingle and apply a generous amount of roofing cement underneath the crack.
- Press down firmly: Press the shingle down firmly to ensure the cement adheres well.
- Secure with nails: If the crack is large or the shingle feels loose, add a couple of roofing nails to secure it.
- Apply more cement: Cover the nail heads and the crack with more roofing cement to seal everything up tight.
Think of it like a Band-Aid for your roof!
How to Replace Missing Shingles
Missing shingles require a bit more work, but it’s still a manageable DIY project. Here’s how to tackle it:
- Remove the nails: Use your pry bar to carefully remove any remaining nails from the missing shingle area.
- Slide in the new shingle: Slide the new shingle into place, making sure it aligns with the surrounding shingles.
- Secure with nails: Nail the new shingle in place, using the same nail pattern as the other shingles.
- Seal the edges: Apply roofing cement to the edges of the new shingle to prevent water from seeping in.
It’s like fitting a new piece into a jigsaw puzzle!
How to Fix Curling Shingles
Curling shingles can be a bit trickier, but here’s a method that often works:
- Soften the shingle: On a warm, sunny day, the shingle might be more pliable. If not, you can try gently heating it with a hairdryer (be careful not to overheat it!).
- Flatten the shingle: Once the shingle is softened, carefully flatten it out.
- Apply roofing cement: Lift the shingle and apply roofing cement underneath.
- Weigh it down: Place a brick or heavy object on the shingle for a few hours to help it adhere.
Think of it like straightening out a wrinkled shirt!
Dealing with Granule Loss
If you’re noticing a lot of granules in your gutters, it might be time for a new roof. But if the granule loss is minimal, you can try this:
- Clean the area: Gently brush away any loose granules.
- Apply roof sealant: Apply a roof sealant or coating designed to protect against granule loss. You can find these at most hardware stores.
It’s like giving your roof a fresh coat of paint!
Preventing Future Shingle Problems
Prevention is key, right? Here are some tips to keep your shingles in tip-top shape:
- Regular inspections: Inspect your roof at least twice a year, especially after storms.
- Trim overhanging branches: Trees can rub against your roof and cause damage.
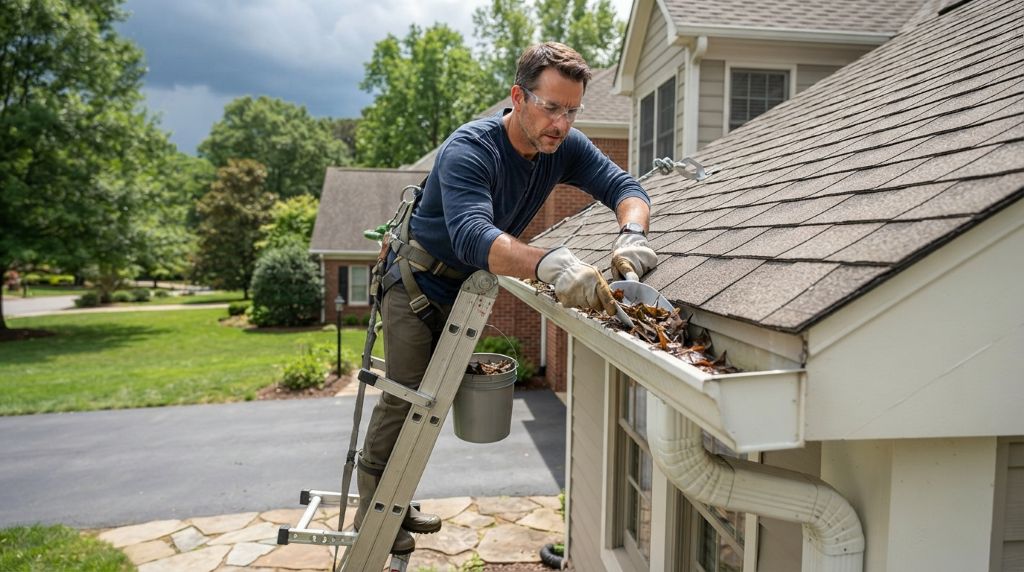
- Keep your gutters clean: Clogged gutters can lead to water backup, which can damage your roof.
- Proper ventilation: Good attic ventilation helps regulate temperature and prevents moisture buildup.
Think of it like regular checkups at the doctor—it’s better to catch problems early!
When to Call a Professional
Okay, I know I said you can handle a lot of shingle repairs yourself, but there are times when it’s best to call in the pros. Here are some signs you need professional help:
- Extensive damage: If a large section of your roof is damaged, it’s best to leave it to the experts.
- Leaks you can’t find: If you’re seeing water stains but can’t pinpoint the source, a professional roofer can help.
- You’re not comfortable: If you’re not comfortable working on your roof, don’t risk it! Safety first.
Frequently Asked Questions about Roof Shingle Repair
Q: How long do roof shingles last?
A: The lifespan of shingles varies depending on the material and quality. Asphalt shingles typically last 20-30 years, while metal roofs can last 50 years or more.
Q: Can I walk on my roof to inspect it?
A: It’s best to avoid walking on your roof if possible. It can cause damage to the shingles. If you must walk on it, wear soft-soled shoes and distribute your weight evenly.
Q: How often should I get my roof inspected?
A: It’s a good idea to have your roof inspected by a professional at least once a year, or after any major storms.
Q: How much does it cost to repair a roof?
A: The cost of roof repair varies depending on the extent of the damage and the type of shingles. Minor repairs can often be done for a few hundred dollars, while major repairs can cost thousands.
Q: Can I repair my roof in the winter?
A: It’s not ideal to repair your roof in the winter, as cold temperatures can make shingles brittle and difficult to work with. If you must do repairs in the winter, choose a day when the temperature is above freezing.
Conclusion
See? Roof shingle repair isn’t rocket science. With a little knowledge, the right tools, and a dash of DIY spirit, you can keep your roof in great shape and save some money in the process. Remember, regular maintenance is key to preventing big problems down the road. So, grab your ladder, put on your safety gear, and show those shingles who’s boss!