Storms can be brutal on roofs. Even a short, intense storm can leave behind cracked shingles, loose flashing, and small gaps that let water in. The good news is that you do not always need a professional for minor repairs. Roof cement is a simple, affordable solution that most homeowners can use on their own. This guide walks you through exactly how to do it safely and effectively.
What Is Roof Cement and Why Does It Work?
Roof cement goes by several names. You may hear it called roofing mastic, plastic cement, or asphalt roof cement. However, they all refer to the same thick, tar-based compound. It is designed to seal cracks, bond loose materials, and block water from entering your roof.
The compound is waterproof and flexible. Therefore, it can handle temperature changes without cracking. It sticks well to asphalt shingles, metal flashing, and other common roofing materials. Additionally, it dries into a firm, durable seal that can last for several years with proper application.
Identifying Minor Roof Storm Damage
Before you reach for the cement, you need to know what you are dealing with. Minor storm damage is typically visible and limited in scope. However, it is still important to inspect carefully before starting any repair.
Signs of Minor Damage Worth Repairing Yourself
- Cracked or split shingles that are still in place
- Lifted or curling shingle edges
- Small gaps around flashing near chimneys or vents
- Loose or exposed nail heads
- Tiny punctures or holes in shingles
If the damage is widespread, or if you notice sagging sections, large missing patches, or structural issues, call a licensed roofing contractor instead. Roof cement is not a solution for serious structural damage.
Tools and Materials You Will Need
Gathering your tools before climbing onto the roof saves time and keeps you safer. Here is what you should have ready:
- A can or tube of roof cement (asphalt-based)
- A putty knife or margin trowel
- A wire brush or stiff-bristle brush
- Roofing nails and a hammer (optional, for re-securing lifted shingles)
- Work gloves and safety glasses
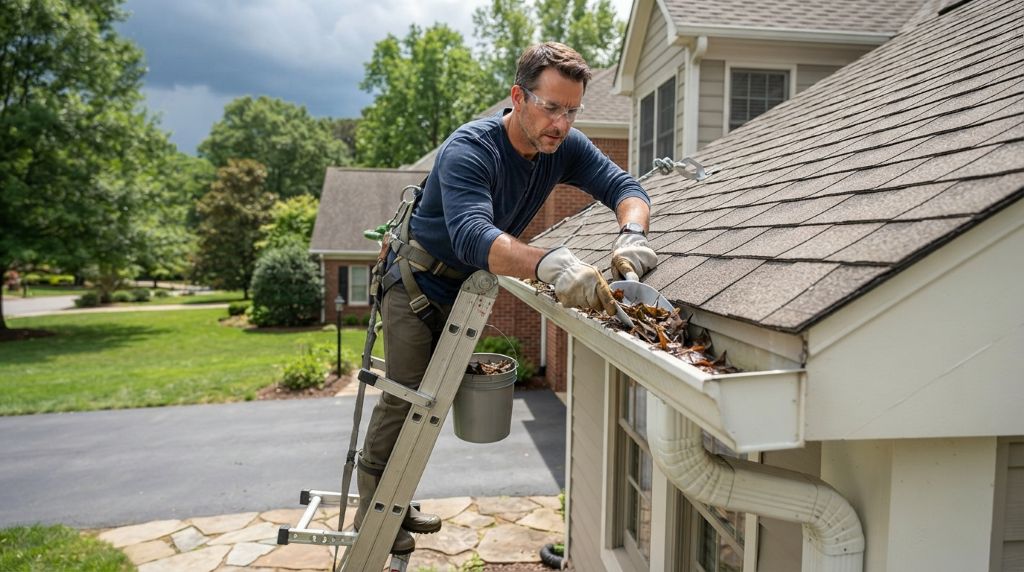
- A sturdy extension ladder
- Non-slip footwear
Additionally, check the weather before you start. Roof cement should be applied in dry conditions. Temperatures above 40 degrees Fahrenheit are ideal. Cold or wet conditions will prevent the cement from bonding properly.
Safety First: Tips Before You Climb
Working on a roof carries real risks. Therefore, safety must come before anything else. Follow these basic precautions every single time.
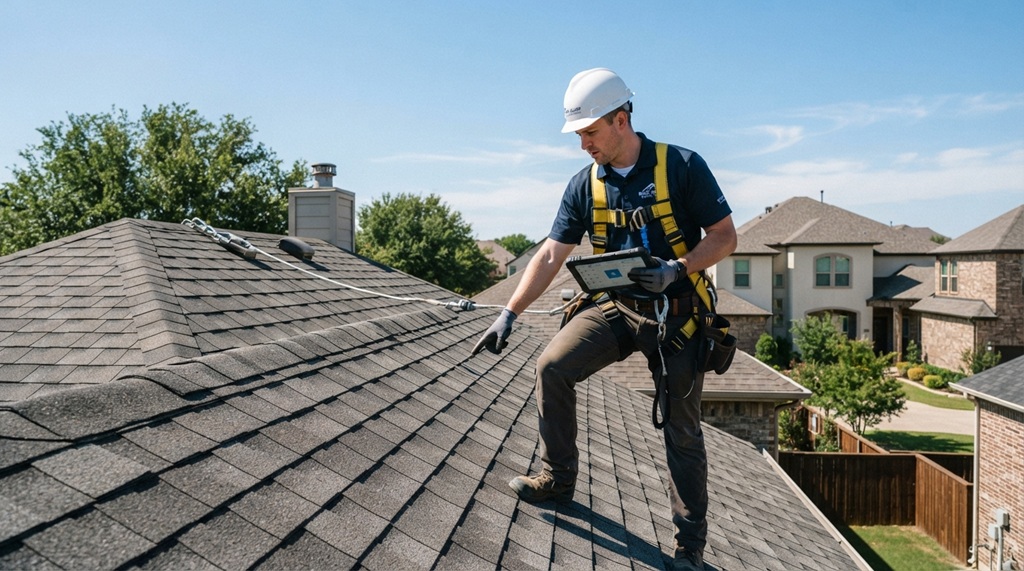
Always tell someone you are going on the roof. Use a ladder with rubber feet and set it at the correct angle. Walk carefully on the roof and stay near the ridge when possible. Avoid working on a wet or frosty surface. Furthermore, never lean over the edge to reach a repair spot. It is better to reposition your ladder than to stretch dangerously.
If the slope feels too steep or the roof surface feels unstable, stop. Hire a professional. No repair is worth a serious fall.
Step-by-Step Guide to Applying Roof Cement
Once you are safely on the roof, follow these steps carefully. Taking your time here ensures a proper seal that will hold for years.
Step 1: Clean the Damaged Area
Start by removing any loose debris from the repair zone. Use your wire brush to scrub away dirt, moss, and old sealant. The surface must be clean and dry for the cement to stick properly. Additionally, remove any loose granules from the shingle surface around the crack.
Step 2: Press Down Lifted Shingles
If the storm lifted a shingle edge, gently press it back into place. However, be careful not to crack it further. If the shingle feels brittle, warm it slightly with your hand or wait for a warmer day before pressing. Cold shingles break easily.
For severely lifted shingles, you may need to nail the edge down first. Drive a roofing nail near the corner, then cover it with cement to prevent leaks.
Step 3: Apply the Roof Cement
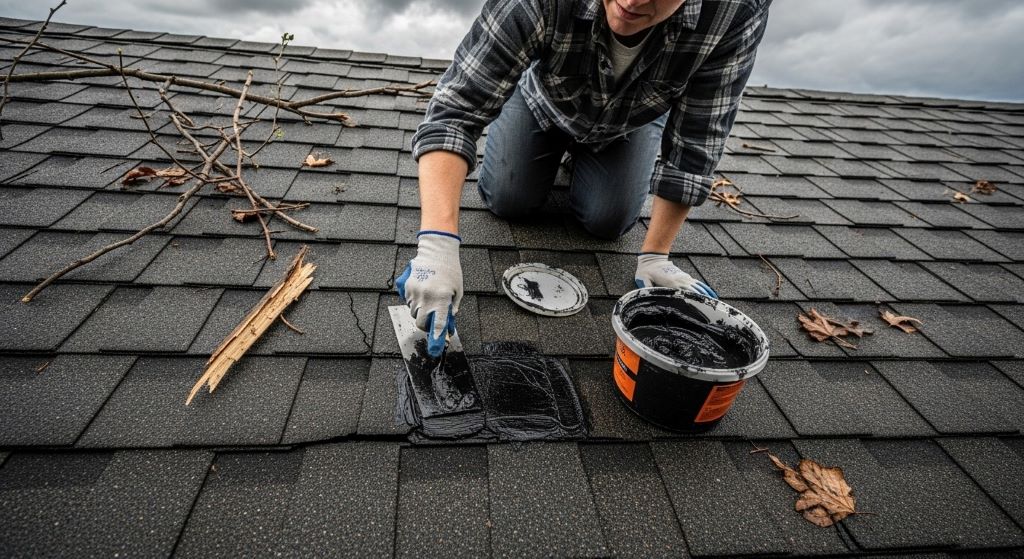
Open your roof cement and stir it if the product instructions recommend doing so. Use your putty knife to scoop a generous amount. Apply it directly over the crack, hole, or gap.
Press the cement firmly into the damaged area. Spread it at least two inches beyond the edges of the crack in every direction. This creates a wide, secure seal. Therefore, water has no easy path to sneak underneath.
For lifted shingle edges, slide the putty knife under the shingle and apply cement to the underside. Then press the shingle down firmly onto the cement. Hold it in place for a moment so it bonds.
Step 4: Smooth and Feather the Edges
Once the cement is in place, use the flat edge of your putty knife to smooth it out. Feather the edges so they blend with the surrounding shingle surface. This improves adhesion and helps shed water more effectively. Avoid leaving thick ridges of cement, as these can trap debris over time.
Step 5: Seal Flashing Gaps
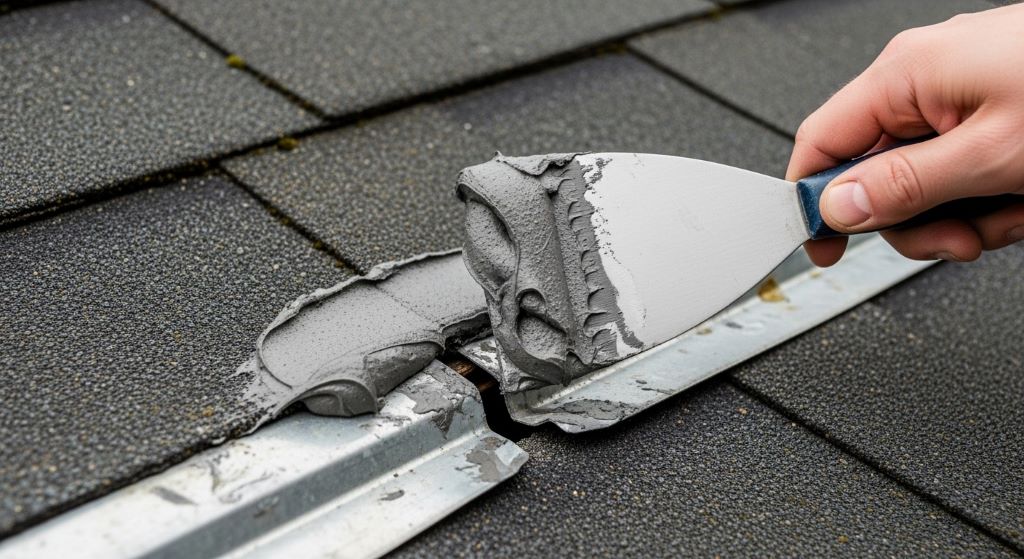
Flashing is the metal strip that runs along joints and edges of your roof. Storms often loosen this material, creating gaps where water enters easily. Apply roof cement generously along any visible gap between the flashing and the surrounding surface. Press it in firmly and smooth it flat.
Additionally, check where the flashing meets the chimney or vent pipe. These spots are among the most common sources of roof leaks. A thorough seal here can prevent significant water damage inside your home.
Step 6: Inspect Your Work
Take a step back and look at each repair carefully. Make sure there are no gaps in the cement and that all edges are well-sealed. If you notice any thin spots, apply a second layer. Let the cement cure fully before the next rain. Most products cure within 24 to 48 hours in normal conditions.
Common Mistakes to Avoid
Even simple repairs go wrong when basic rules are ignored. Here are the most common mistakes homeowners make when using roof cement.
Applying cement in wet conditions is a frequent error. Water prevents bonding, so the seal will fail quickly. Furthermore, using too little cement is another common issue. Thin applications dry out and crack faster. Always apply a thick, generous coat.
Skipping the cleaning step also causes problems. Dirt and debris stop the cement from gripping the surface. Additionally, trying to repair large areas with cement alone is a mistake. Roof cement is a spot repair tool, not a whole-roof solution.
How Long Does a Roof Cement Repair Last?
A properly applied roof cement repair can last anywhere from three to ten years. The lifespan depends on the quality of the product, the application method, and your local climate. Homes in areas with extreme heat cycles or heavy UV exposure may see repairs degrade faster.
Therefore, it is a good idea to inspect your roof at least twice a year. Check after major storms as well. Catching a failing repair early lets you touch it up before a small issue becomes a large, costly leak.
When to Call a Professional Instead
Roof cement is excellent for small, accessible repairs. However, there are situations where professional help is the smarter choice.
Call a roofer if you see widespread shingle loss, if the decking underneath looks soft or rotten, or if you notice water staining on multiple ceiling areas inside your home. Additionally, if you are not comfortable working at height, do not push yourself. Professional roofers have the training and equipment to handle the job safely and efficiently.
Catching minor damage early and fixing it with roof cement is smart. However, misidentifying serious damage as minor can lead to far bigger repair bills down the road.
Conclusion
Repairing minor roof storm damage with roof cement is a practical skill every homeowner should know. The process is straightforward. You clean the area, press down any lifted material, apply the cement generously, and smooth it flat. Additionally, sealing flashing gaps is just as important as fixing the shingles themselves.
Always prioritize safety before climbing onto any roof. Work in dry, warm conditions for the best results. Use quality roof cement and apply it with care. Furthermore, inspect your repairs regularly to catch any early signs of wear.
With the right tools and a careful approach, you can protect your home from water damage and extend the life of your roof without spending a fortune.
Frequently Asked Questions
1. Can I apply roof cement in cold weather?
Roof cement can be applied in temperatures as low as 40 degrees Fahrenheit. However, cold conditions make the product stiffer and harder to spread. Additionally, cold shingles are more likely to crack when you press them down. Warmer temperatures produce better results and stronger bonds.
2. How much roof cement do I need for a small repair?
For a single crack or small gap, a quart-sized can is usually more than enough. Most minor repairs use only a few tablespoons of material. However, it is worth buying a slightly larger amount so you have some left over for touch-ups or future repairs.
3. Is roof cement the same as roofing caulk?
They are similar but not identical. Roofing caulk is thinner and applied with a caulk gun. It works well for very narrow gaps. Roof cement is thicker and applied with a trowel or putty knife. Therefore, roof cement is better for larger cracks, holes, and lifting shingles where a thicker fill is needed.
4. Will roof cement stop an active roof leak?
Roof cement can temporarily reduce or stop a minor active leak if applied correctly in dry conditions. However, it is not a reliable long-term fix for a leak that is already letting water inside. Additionally, the underlying cause must be identified and addressed. If the leak is serious, contact a roofing professional right away.
5. Can I paint over roof cement after it dries?
Yes, most roof cement can be painted over once it has fully cured. However, use a paint that is compatible with asphalt or rubberized surfaces. Additionally, check the product label first. Some types of roof cement require a primer coat before paint will adhere properly.
Related Topics:
Why Your California Roof Leaks During Heavy Rains: A Complete Homeowner’s Guide
DIY Roof Repair Mistakes That Can Cost You Thousands