
A slow water drip might seem harmless at first. However, it is often a sign that something small on your roof has gone wrong. Left alone, even a tiny leak can damage your ceiling, walls, insulation, and wooden beams. The good news is that many of these problems are easy to fix. You do not always need to call a professional. With the right tools and a little patience, you can handle most minor roof repairs yourself.
This guide walks you through the most common small roof issues that cause slow drips, how to find them, and how to fix them safely.
Why Small Roof Problems Lead to Slow Drips
Water is patient. It follows the path of least resistance. Therefore, even a pinhole crack or a loose shingle can allow water to seep in slowly over time. The drip you see inside your home may not be directly below the source of the leak. Water often travels along beams or roof decking before it drops.
Additionally, slow drips are easy to ignore. Many homeowners only notice them during heavy rain. However, the damage builds up over weeks and months. Mold grows, wood rots, and the repair cost rises. Catching the problem early saves you money and stress.
How to Safely Inspect Your Roof
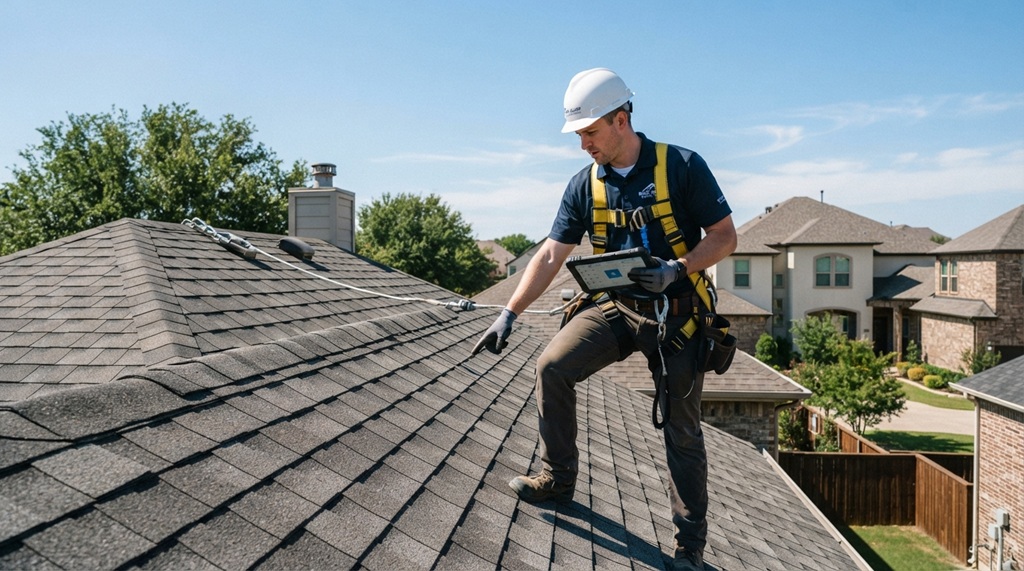
Before you fix anything, you need to find the problem. Safety comes first, so always use a sturdy ladder and wear rubber-soled shoes. Try to inspect your roof on a dry, calm day.
Start from the inside. Go into your attic with a flashlight. Look for water stains, dark spots, or mold on the wood. These marks often point directly to the leak source. Once you find the stain, measure its distance from a wall or roof edge. You can then use those measurements to find the same spot on the outside.
Next, go up on the roof. Look for these common warning signs:
- Cracked, curled, or missing shingles
- Damaged or rusted flashing around vents, chimneys, and skylights
- Clogged or sagging gutters
- Gaps in roof sealant or caulk
- Lifted or loose shingles near the ridge or edges
Additionally, check after a light rain. Sometimes water stains are easier to spot when the roof is slightly wet.
Fixing Cracked or Curled Shingles
Cracked and curled shingles are one of the most common causes of slow drips. They allow water to slip underneath and soak into the decking below.
For a cracked shingle, apply roofing sealant directly into the crack using a caulk gun. Press the shingle flat and spread the sealant evenly. Then press it down firmly. If the crack is wide, you can apply a small piece of flashing tape over it before sealing.
For a curled shingle, apply roofing sealant under the lifted edge. Press the shingle down flat and hold it in place for at least a minute. You can also place a heavy object on it while the sealant dries. However, if the shingle is very brittle or crumbling, it is better to replace it entirely.
To replace a shingle, gently lift the edges of the surrounding shingles and remove the nails holding the damaged one in place. Slide the new shingle into position, nail it down at the upper corners, and seal the nail heads with roofing cement. Then press the surrounding shingles back down.
Repairing Damaged Flashing
Flashing is the thin metal sheeting installed around chimneys, vents, skylights, and roof edges. Its job is to seal the joints where the roof meets these structures. Over time, flashing can crack, rust, or pull away from the surface. This is a very common source of slow water drips.
First, inspect the flashing closely. Look for gaps, rust spots, or areas where the sealant has dried out and cracked. If the flashing is still intact but the seal has failed, you can fix it with roofing caulk. Clean the area with a stiff brush, remove old crumbling sealant, and apply a fresh bead of roofing caulk along the edge. Smooth it out with your finger or a putty knife.
If the flashing itself is bent or cracked, you may need to replace the damaged section. Cut a piece of step flashing or aluminum flashing to size. Slide it under the shingles and over the joint. Secure it with roofing nails and seal the edges with roofing cement.
Additionally, chimney flashing often requires both base flashing and counter flashing. If you see gaps between these two layers, seal them carefully with polyurethane caulk.
Sealing Around Roof Vents and Pipes
Roof vents and pipe boots are common leak points. The rubber boot that surrounds a vent pipe can crack and shrink over time, especially in areas with strong sun and cold winters. When the boot fails, water trickles in around the pipe and drips down inside the home.
Inspect the rubber boot at the base of each pipe. If it looks cracked, stiff, or is pulling away from the pipe, it needs attention. In many cases, you can slip a new rubber boot cover directly over the old one. These covers are inexpensive and easy to install. Simply slide the cover down the pipe, position it over the old boot, and secure it with screws. Then apply a bead of sealant around the edge.
If the boot is completely disintegrated, you will need to remove the old flashing and install a new pipe boot kit. This involves lifting the surrounding shingles, sliding out the old unit, and fitting the new one into place. Seal all edges thoroughly once the new boot is positioned.
Clearing Clogged Gutters and Fixing Ice Dams
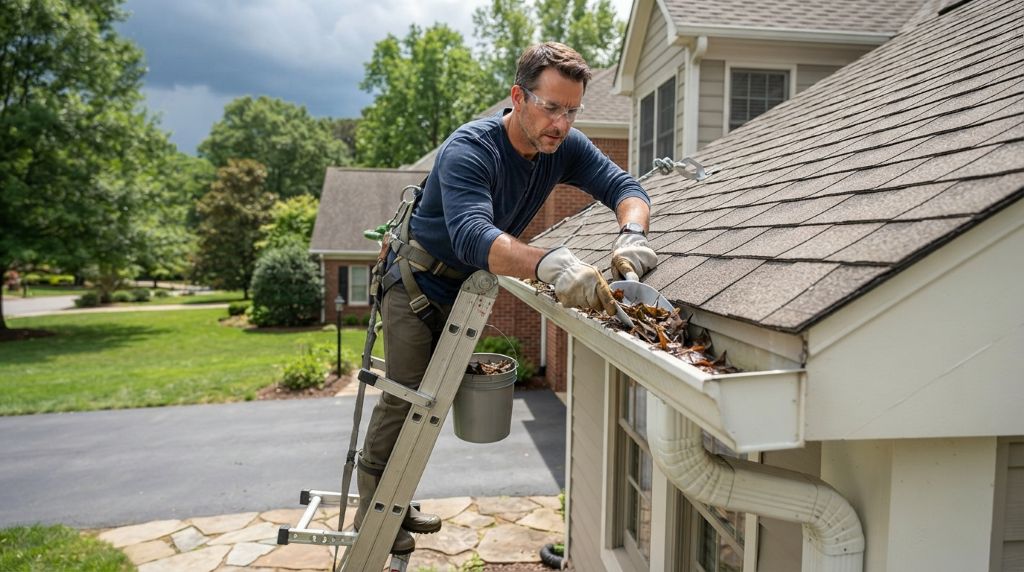
Gutters that are full of leaves and debris cause water to back up under the roof edge. Over time, this leads to water seeping under the shingles and dripping inside. Therefore, keeping your gutters clean is an important part of preventing roof leaks.
Clean your gutters at least twice a year, ideally in spring and autumn. Use a gutter scoop or a garden trowel to remove debris. Flush the gutters with a garden hose and check that water flows freely through the downspouts.
In colder climates, ice dams are another major cause of slow drips. They form when heat escapes from the home and melts snow near the ridge. The water runs down and refreezes near the cold eaves, creating a dam. Water backs up behind the ice and seeps under shingles.
To prevent ice dams, improve your attic insulation and ventilation. Additionally, you can install a heated cable along the roof edge to keep ice from forming. After a heavy snowfall, use a roof rake to pull snow away from the lower portion of the roof.

Applying Roof Sealant to Small Holes and Gaps
Sometimes a slow drip comes from a nail hole, a small gap in the roof decking, or a spot where two sections of roofing material meet. These tiny openings are easy to fix with roofing cement or sealant.
Clean the area first. Remove any dirt, dust, or old sealant with a wire brush. Then apply roofing cement generously over the hole or gap. Smooth it out with a putty knife and allow it to dry fully. For added protection, press a small piece of roofing mesh or flashing tape into the wet cement before smoothing it over.
However, avoid applying sealant in cold or wet weather. Roofing cement bonds best when it is warm and the surface is dry.
Conclusion
Small roof issues are easy to overlook, but they are worth fixing quickly. A slow drip may start as a minor annoyance. However, without attention, it can turn into serious structural damage. The most common culprits are cracked shingles, failed flashing, worn pipe boots, clogged gutters, and small gaps in the roofing material. Fortunately, each of these problems has a straightforward solution that most homeowners can handle with basic tools.
The key is to inspect your roof regularly. Catching a problem early means the repair is small, affordable, and quick. Therefore, make roof inspection part of your seasonal home maintenance routine. A little effort now protects your home for years to come.
Frequently Asked Questions
How do I know if my roof is leaking or if it is condensation?
Condensation usually appears in cooler months and disappears when temperatures rise. A roof leak, however, tends to appear after rain and leaves water stains that get worse over time. Check your attic for discoloration or wet insulation, which points to a true leak rather than condensation.
Can I repair a roof leak myself, or should I always hire a professional?
Many minor repairs, such as resealing flashing, replacing a single shingle, or patching a small hole, are DIY-friendly. However, if the damage is widespread, if the roof is very steep, or if you are unsure about the source of the leak, it is safer to hire a licensed roofing contractor.
How long does roofing sealant last?
Most roofing sealants and caulks last between five and ten years, depending on the product and weather conditions. UV rays and temperature changes cause them to dry out and crack over time. Therefore, inspect sealed areas every few years and reapply as needed.
What is the best time of year to repair a roof?
Late spring and early autumn are ideal for roof repairs. Temperatures are mild, which helps sealants and adhesives bond properly. Avoid making repairs during freezing temperatures or during rainy seasons, as wet and cold conditions prevent materials from setting correctly.
How much does it cost to fix a small roof leak?
The cost depends on the cause and extent of the damage. Simple repairs, such as replacing a few shingles or resealing flashing, can cost anywhere from $150 to $500 if you hire a professional. DIY repairs cost much less, mainly just the price of materials, which can range from $20 to $100 for minor fixes.
Related Topics:
From Leaks to Storm Damage: Florida Roofing Solutions That Last
Wind Damage on California Roofs: Signs and Solutions