
Clay tile roofing offers timeless beauty and exceptional durability. However, installing these tiles on low slope roofs requires careful planning and specialized techniques. This guide explores everything you need to know about this installation process.
Understanding Low Slope Roofs
Low slope roofs typically have a pitch between 2:12 and 4:12. This means the roof rises 2 to 4 inches for every 12 inches of horizontal distance. These roofs present unique challenges compared to steep slopes. Water drainage becomes more difficult, and proper installation becomes even more critical.
Many homeowners prefer low slope roofs for their modern aesthetic. Additionally, they often cost less to install than steeper alternatives. However, they require extra attention to waterproofing and material selection.
Why Choose Clay Tiles
Clay tiles have protected homes for thousands of years. Their popularity continues because of several compelling advantages. First, they last 50 to 100 years with proper maintenance. Furthermore, they resist fire, rot, and insect damage naturally.
These tiles also provide excellent insulation properties. They keep homes cooler in summer and warmer in winter. Therefore, homeowners often see reduced energy bills. The aesthetic appeal remains unmatched, with colors ranging from warm terracotta to cool slate gray.
Minimum Slope Requirements
Standard clay tiles typically require a minimum slope of 4:12. However, specialized low profile tiles can work on slopes as low as 2.5:12. Always check manufacturer specifications before beginning installation. Using tiles on slopes below recommended minimums voids warranties and creates water intrusion risks.
The slope affects how water flows off the roof. Consequently, lower slopes need additional waterproofing measures. Some building codes also restrict tile installation on very low slopes. Check local regulations before starting your project.
Essential Preparation Steps
Proper preparation determines installation success. Start by inspecting the roof deck for damage or weakness. The structure must support the tile weight, which ranges from 600 to 1,500 pounds per square. Many low slope roofs need reinforcement before tile installation.
Next, ensure adequate ventilation throughout the roof system. Poor ventilation leads to moisture problems and premature failure. Additionally, install proper flashing around all penetrations, valleys, and edges. This step becomes even more important on low slope applications.
Waterproofing Requirements
Low slope roofs demand exceptional waterproofing. Begin with a high quality underlayment across the entire roof deck. Many professionals recommend two layers of underlayment on slopes below 4:12. The first layer typically consists of self adhering modified bitumen membrane.
Moreover, install additional underlayment in vulnerable areas. These include valleys, eaves, and anywhere two roof planes meet. Some installers use ice and water shield in these critical zones. According to the National Roofing Contractors Association, proper underlayment installation prevents 90 percent of water intrusion issues.

Tile Selection Matters
Not all clay tiles suit low slope applications. Flat tiles and low profile designs work best on gentler slopes. These tiles create tighter overlaps and shed water more effectively. Spanish or barrel tiles, while beautiful, typically require steeper pitches.
Consider the local climate when selecting tiles. Areas with heavy rainfall need tiles with superior water channeling features. Furthermore, choose tiles rated for your region’s wind speeds. Lightweight tiles might seem appealing, but heavier tiles often perform better in extreme weather.
Installation Techniques
Installation begins at the eaves and progresses upward. Each row overlaps the one below, creating a water shedding pathway. However, low slope installations require larger overlaps than steep roofs. This increased overlap ensures water cannot work backward under the tiles.
Secure each tile properly using manufacturer approved fasteners. Nails or screws must penetrate into solid decking material. Additionally, some low slope applications benefit from mechanical clips or adhesive systems. These provide extra security against wind uplift.
Battens and Counter Battens
Many low slope clay tile installations use batten systems. Horizontal battens run across the roof, providing attachment points for tiles. Counter battens run vertically, creating channels for water drainage. This system improves ventilation and water management.
Space battens according to tile exposure requirements. Proper spacing ensures adequate overlap between tile courses. Therefore, careful measurement during batten installation saves time and prevents problems later. Some systems also incorporate spacer shims to maintain consistent tile positioning.
Valley and Hip Treatment
Valleys require special attention on low slope roofs. Water concentrates in these areas, increasing leak risk. Install metal valley liners or use specialized valley tiles. The valley system must handle high water volume without backing up under adjacent tiles.
Similarly, hips and ridges need proper treatment. Ridge tiles cap the roof peak, preventing water entry. Secure these tiles with mortar or mechanical fasteners. Furthermore, ensure adequate ventilation at the ridge to prevent moisture buildup.
Maintenance Considerations
Clay tile roofs need regular inspection and maintenance. Check tiles annually for cracks, displacement, or damage. Low slope roofs accumulate debris more readily than steep roofs. Therefore, keep valleys and gutters clear of leaves and dirt.
Replace damaged tiles promptly to prevent water intrusion. Additionally, inspect underlayment and flashing every few years. According to This Old House, preventive maintenance extends roof life by decades and prevents costly repairs.
Cost Factors
Clay tile installation on low slope roofs costs more than standard applications. Expect to pay between twelve and thirty dollars per square foot installed. This price includes materials, labor, and necessary structural reinforcements. However, the long lifespan often makes clay tiles cost effective over time.
Additional waterproofing requirements increase material costs. Furthermore, specialized installation expertise commands premium labor rates. Nevertheless, the investment pays dividends through durability and energy savings.
Professional Installation Recommended
While some roofing projects suit DIY enthusiasts, clay tile installation requires professional expertise. Proper installation techniques prevent expensive failures. Additionally, professionals carry insurance protecting homeowners from installation defects.
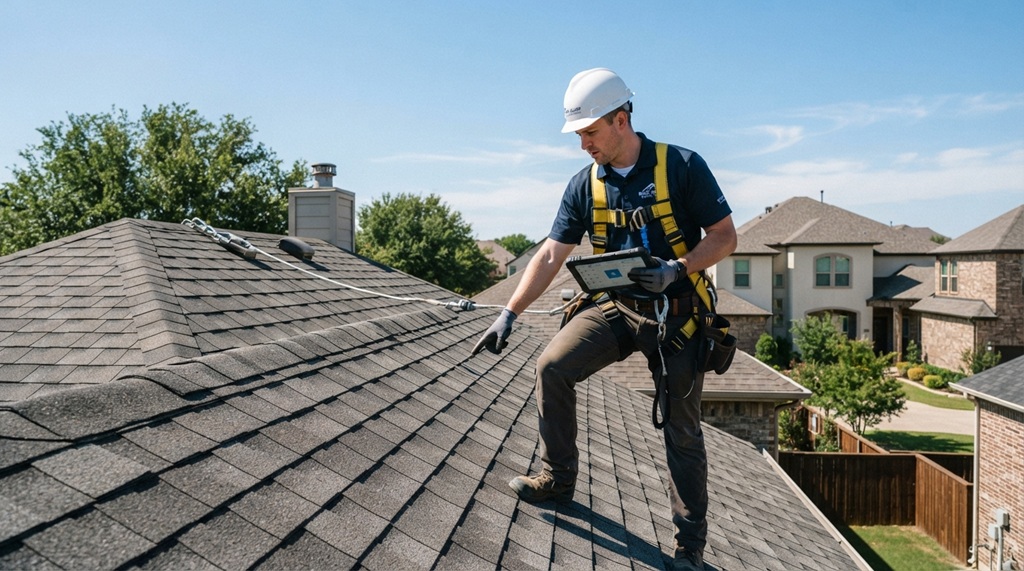
Experienced contractors understand local building codes and climate specific requirements. They also access proper safety equipment for working on roofs. Therefore, hiring qualified professionals protects your investment and ensures optimal performance.
Conclusion
Installing clay tiles on low slope roofs offers beauty and longevity when done correctly. The process requires careful attention to slope requirements, waterproofing, and proper technique. While more complex than steep slope installations, low slope clay tile roofs provide excellent protection and aesthetic appeal. Professional installation ensures your roof performs well for generations. By following manufacturer guidelines and local building codes, you can enjoy the timeless elegance of clay tiles regardless of your roof’s pitch.
Frequently Asked Questions
What is the minimum slope for clay tile installation?
Most clay tiles require a minimum slope of 4:12. However, specialized low profile tiles can be installed on slopes as low as 2.5:12 with proper waterproofing measures and manufacturer approval.
How much does clay tile weigh per square foot?
Clay tiles typically weigh between 600 and 1,500 pounds per square (100 square feet). Your roof structure must be evaluated to ensure it can support this additional weight before installation.
Do clay tiles work in cold climates?
Yes, quality clay tiles perform well in cold climates. They resist freeze thaw cycles better than many roofing materials. However, proper installation and adequate slope remain essential for preventing ice damming issues.
How long do clay tile roofs last?
Properly installed clay tile roofs last 50 to 100 years. Some historic clay tile roofs have protected buildings for several centuries. Regular maintenance maximizes lifespan and performance.
Can I walk on a clay tile roof?
Clay tiles can break under direct foot traffic. If roof access becomes necessary, walk on the lower third of each tile where it overlaps the tile below. Better yet, hire professionals with proper equipment for roof maintenance.
Related Topics:
Top 7 Roof Problems Every Texas Homeowner Should Know
Is Roof Ready for Texas Weather? Here’s What to Watch Out For