
A leaking roof is one of the most urgent and potentially damaging issues a homeowner can face. Water intrusion can lead to structural damage, mold growth, and costly repairs if not addressed promptly. According to the National Roofing Contractors Association, over 40% of homeowners experience roof leaks at some point, often due to aging materials, severe weather, or poor installation. However, many leaks can be repaired without calling in a professional if you have the right tools, materials, and knowledge. This roof repair guide will walk you through the steps to identify, diagnose, and fix roof leaks like a pro. Whether you’re dealing with a minor drip or a persistent problem, these construction tips will help you tackle the job with confidence and precision.
Why Prompt Roof Repair Matters
Ignoring a roof leak can have serious consequences for your home and your wallet. Water can seep into your attic, insulation, and even the structural components of your house, leading to rot, mold, and compromised integrity. Additionally, a small leak can quickly escalate into a major issue, especially during heavy rain or snow. According to a report by HomeAdvisor, the average cost of repairing a roof leak is between $300 and $1,100, but the cost of ignoring it can run into tens of thousands of dollars in structural repairs. Furthermore, a leaky roof can decrease your home’s energy efficiency, as water-damaged insulation loses its ability to regulate temperature. By addressing leaks promptly with this roof repair guide, you can save money, protect your home, and extend the lifespan of your roof.
Step 1: Locate the Source of the Leak
The first step in repairing a roof leak is identifying its source. However, the location of the water stain on your ceiling or wall may not directly correspond to the leak’s origin. Water can travel along rafters, pipes, or insulation before dripping, making it essential to trace the path of the leak. Start by inspecting your attic during daylight hours. Look for signs of water intrusion, such as damp insulation, water stains, or mold growth. Use a flashlight to follow the trail of water upward to its entry point. Additionally, check for common leak sources, such as damaged shingles, cracked flashing, or clogged gutters. If the leak isn’t obvious, enlist a helper to spray water on the roof with a hose while you watch for drips in the attic. This method can help pinpoint the exact location of the leak. These home improvement tips will streamline your search and save you time.
Step 2: Inspect the Roof for Damage
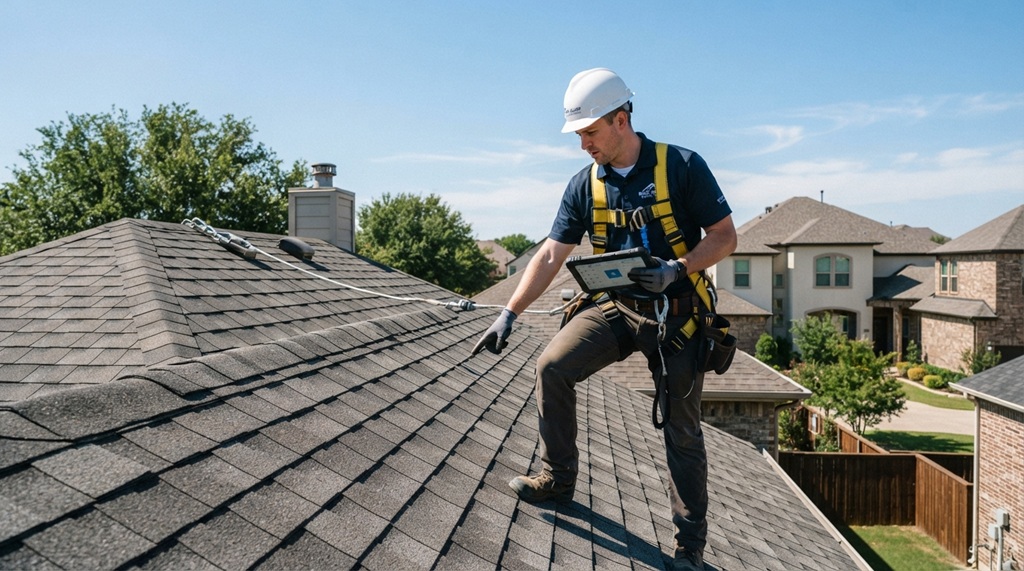
Once you’ve located the general area of the leak, it’s time to inspect the roof itself. Start by examining the shingles or roofing material for signs of damage, such as cracks, curls, or missing pieces. Pay special attention to areas around chimneys, vents, skylights, and valleys, as these are common entry points for water. Additionally, check the flashing—the metal strips that seal the edges of roof features—for rust, cracks, or gaps. If your roof has a rubber boot around vent pipes, inspect it for cracks or deterioration. Use a ladder to access the roof safely, and always prioritize caution, especially if your roof is steep or slippery. These construction tips will help you identify the root cause of the leak and determine the best course of action for repair.
Step 3: Gather the Right Materials and Tools
Before you begin repairs, ensure you have the necessary materials and tools on hand. The exact supplies will depend on the type of roof and the nature of the leak, but some common items include replacement shingles, roofing cement, flashing, a putty knife, a hammer, roofing nails, and a caulk gun. Additionally, you may need a pry bar to remove damaged shingles, a utility knife for cutting materials, and a trowel for applying roofing cement. For safety, wear non-slip shoes, gloves, and a harness if you’re working on a steep roof. If you’re unsure about the materials needed for your specific roof type, consult a local hardware store or a roofing specialist. This roof repair guide emphasizes the importance of being prepared before you start any repair work.
Step 4: Repair Damaged Shingles
Damaged or missing shingles are a common cause of roof leaks. To repair them, start by removing the damaged shingle using a pry bar to lift the edges of the surrounding shingles. Once the damaged shingle is free, slide a new shingle into place, ensuring it aligns with the existing ones. Secure it with roofing nails, placing them just above the adhesive strip of the shingle. Press down firmly to seal the adhesive. If the shingle is only cracked or curled, you can use roofing cement to seal the edges and prevent water intrusion. Additionally, apply a small amount of cement under the edges of the surrounding shingles to ensure a watertight seal. These home improvement tips will help you restore the integrity of your roof and prevent future leaks.

Step 5: Fix Flashing and Seal Gaps
Flashing is a critical component of your roof’s waterproofing system, and damaged or improperly installed flashing is a frequent cause of leaks. To repair flashing, start by removing the old, damaged piece using a pry bar or screwdriver. Clean the area thoroughly to remove any debris or old caulk. Next, install the new flashing, ensuring it fits snugly against the roof and the feature it’s protecting, such as a chimney or vent. Secure the flashing with roofing nails and seal the edges with roofing cement or silicone caulk. For smaller gaps or cracks, apply a generous bead of caulk along the seams and smooth it out with a putty knife. These construction tips will help you create a watertight barrier that keeps water out.
Step 6: Address Vent and Pipe Boots
Vent and pipe boots are rubber seals that fit around roof penetrations, such as plumbing vents or exhaust pipes. Over time, these boots can crack or deteriorate, allowing water to seep in. To repair a damaged boot, start by removing the old one. This may require cutting it away with a utility knife. Next, slide a new boot over the pipe and secure it to the roof with roofing cement or screws. Ensure the boot fits snugly and that there are no gaps where water can enter. Additionally, apply a layer of roofing cement around the base of the boot for extra protection. These roof repair guide steps will help you maintain the integrity of your roof’s penetrations and prevent leaks.
Step 7: Prevent Future Leaks with Maintenance
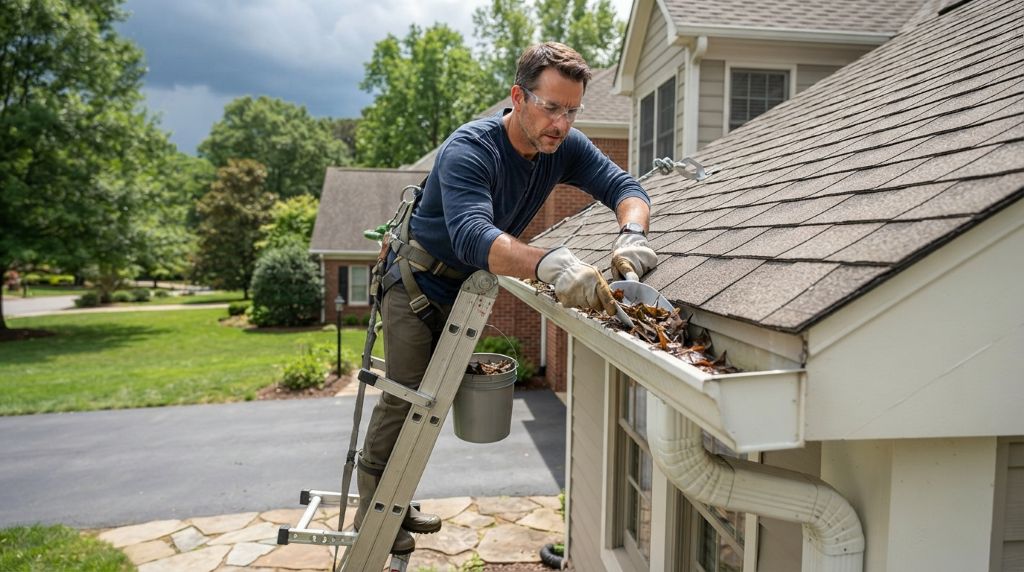
The best way to avoid roof leaks is through regular maintenance and inspections. Start by cleaning your gutters and downspouts at least twice a year to prevent clogs and water backup. Additionally, trim overhanging tree branches that can damage your roof or drop debris onto it. Inspect your roof annually for signs of wear and tear, such as cracked shingles, damaged flashing, or deteriorating seals. Address any issues promptly to prevent them from escalating into major problems. Furthermore, consider applying a roof coating or sealant to extend the life of your roof and enhance its waterproofing capabilities. These home improvement tips will help you keep your roof in top condition and avoid costly repairs.
Expert Tips for Professional Roof Repair
- Work in Dry Conditions: Always repair your roof on a dry, sunny day. Wet surfaces can be slippery and make it difficult for materials to adhere properly.
- Use Quality Materials: Invest in high-quality roofing materials and tools. Cheap or subpar products may not provide a lasting solution and could lead to further damage.
- Follow Safety Protocols: Roof work can be dangerous, especially on steep or high roofs. Use a harness, wear non-slip shoes, and work with a partner whenever possible.
- Check for Hidden Damage: Water can cause damage that isn’t immediately visible. Inspect the decking and insulation in your attic for signs of rot or mold.
- Know Your Limits: If the repair is complex or involves extensive damage, don’t hesitate to call a professional roofer. Safety and quality should always come first.
Real-Life Examples of Roof Repair Success
The DIY Shingle Replacement: A homeowner in Ohio noticed a small leak in their attic after a heavy rainstorm. By following a roof repair guide, they located the damaged shingle, removed it, and replaced it with a new one. The repair took less than an hour and cost under $20, saving them hundreds of dollars in potential water damage.
The Flashing Fix: A homeowner in Florida discovered a leak around their chimney. After inspecting the flashing, they found a small gap where water was seeping in. Using roofing cement and a new piece of flashing, they sealed the gap and prevented further leaks. The repair lasted through multiple hurricane seasons.
The Vent Boot Repair: A homeowner in Texas noticed water stains on their ceiling near a bathroom vent. Upon inspection, they found a cracked vent boot. By replacing the boot and sealing it with roofing cement, they stopped the leak and restored the integrity of their roof.
Reviews of Roof Repair Products
Henry 208 Solar-Flex White Roof Coating: This elastomeric roof coating is designed to seal and protect roofs from leaks and weather damage. Its reflective surface helps reduce energy costs by reflecting sunlight, making it a popular choice for homeowners.
Gorilla Waterproof Patch & Seal Tape: This self-adhesive tape is a versatile and easy-to-use solution for sealing small leaks and gaps. It’s durable, waterproof, and can be applied to a variety of surfaces, making it a staple in any roof repair guide.
DAP 10.1 oz. Black Roof Patch and Repair Sealant: This sealant is a high-performance option for repairing leaks around flashing, vents, and shingles. Its flexible formula adheres to a variety of roofing materials and provides a long-lasting seal.
FAQs About Repairing Roof Leaks
What are the most common causes of roof leaks?
The most common causes of roof leaks include damaged or missing shingles, cracked or deteriorated flashing, clogged gutters, and damaged vent or pipe boots. Additionally, improper installation or aging roofing materials can contribute to leaks.
How do I find the source of a roof leak?
To find the source of a roof leak, start by inspecting your attic for signs of water intrusion, such as damp insulation or water stains. Trace the path of the water upward to its entry point. Additionally, check common leak sources, such as damaged shingles, flashing, or vent boots.
Can I repair a roof leak myself?
Yes, many roof leaks can be repaired as a DIY project if you have the right tools, materials, and knowledge. However, if the leak is extensive or involves complex repairs, it’s best to call a professional roofer.
What materials do I need for roof repair?
The materials you need for roof repair depend on the type of roof and the nature of the leak. Common items include replacement shingles, roofing cement, flashing, roofing nails, and caulk. Always use high-quality materials for a lasting repair.
How do I repair a damaged shingle?
To repair a damaged shingle, remove the old shingle using a pry bar, slide a new shingle into place, and secure it with roofing nails. Apply roofing cement under the edges of the surrounding shingles to ensure a watertight seal.
What is flashing, and how do I repair it?
Flashing is a metal strip that seals the edges of roof features, such as chimneys or vents. To repair flashing, remove the old piece, clean the area, install the new flashing, and seal the edges with roofing cement or caulk.
How can I prevent future roof leaks?
Prevent future roof leaks by performing regular maintenance, such as cleaning gutters, trimming overhanging branches, and inspecting your roof for signs of damage. Additionally, address any issues promptly and consider applying a roof coating or sealant.
Conclusion
Repairing roof leaks like a professional is a manageable task for any homeowner with the right knowledge, tools, and approach. This roof repair guide has provided you with a step-by-step plan to identify, diagnose, and fix common roof leaks, ensuring your home stays dry and protected. By addressing leaks promptly, using quality materials, and performing regular maintenance, you can extend the lifespan of your roof and avoid costly damage. Remember, safety is paramount when working on a roof, so always prioritize caution and know your limits. With these construction tips and home improvement strategies, you’re well-equipped to tackle roof repairs with confidence and precision.
Call to Action
Ready to take control of your roof’s health and prevent leaks before they start? Begin by inspecting your roof for signs of damage and gathering the necessary materials for repairs. Use this roof repair guide to address any issues promptly and share your success stories and tips in the comments below. Let’s build a community of homeowners who are proactive about maintaining their roofs and protecting their homes. The path to a leak-free roof begins with a single step, and there’s no better time to start than now!
Featured Image Source