
A metal roof is one of the best investments you can make for your home. It is durable, long-lasting, and performs well in tough weather. However, even the best metal roof will fail if it is not installed correctly. One of the biggest concerns homeowners have is leaking during heavy rainfall.
The good news is that leaks are almost always preventable. With the right materials, proper techniques, and careful attention to detail, you can install a metal roof that stays completely dry. Therefore, this guide will walk you through every important step of the process.
Why Metal Roofs Leak and How to Prevent It
Before you start any installation, it helps to understand why metal roofs leak in the first place. Most leaks do not happen because of the metal panels themselves. Instead, they occur at joints, seams, fasteners, and edges. These are the areas where water finds a way in.
Heavy rainfall puts extra pressure on every weak point. Water moves fast and in large volumes. It can push through even a small gap. Additionally, temperature changes cause metal to expand and contract. Over time, this movement can loosen fasteners and open up seams.
Therefore, the key to a leak-free metal roof is proper sealing at every connection point. This means using the right underlayment, the correct sealant, and well-placed fasteners. It also means overlapping panels correctly and finishing edges cleanly.
Choosing the Right Materials for a Leak-Free Roof
The materials you choose will have a direct impact on how well your roof performs during heavy rain. Do not cut corners here. Using quality materials from the start will save you time, money, and stress in the long run.
Metal Panels
Choose panels that are designed for your local climate. Standing seam panels are among the best options for wet climates. They hide fasteners beneath raised seams, which greatly reduces leak points. Corrugated panels are also popular, but they require extra care at the overlaps.
Look for panels with a protective coating. Galvanized steel, Galvalume, or aluminum panels with paint coatings resist rust and weathering. A thicker gauge panel will also hold up better under heavy rain and wind.
Underlayment
Underlayment is the layer that goes between your roof deck and the metal panels. It acts as a secondary barrier against water. This layer is critical. If water somehow gets past the metal, the underlayment stops it from reaching your home.
Use a self-adhering bituminous underlayment for the best protection. This type sticks directly to the roof deck and seals around fastener holes. Additionally, make sure the underlayment is rated for use under metal roofing, as standard felt underlayment can trap moisture and cause problems.
Sealants and Butyl Tape
High-quality sealant is one of your most important tools. Use a polyurethane or silicone sealant that is specifically designed for metal roofing. These products stay flexible over time, which is important because metal moves.
Butyl tape is equally important. It is used at seams, ridge caps, and under flashings. Butyl tape compresses to form a watertight seal that lasts for many years. Therefore, always keep a roll on hand throughout the installation.
Preparing the Roof Deck Before Installation
A solid and clean roof deck is the foundation of a leak-free installation. Before you place a single panel, spend time preparing the surface properly. This step is often rushed, but it should not be.
Start by inspecting the existing roof deck. Look for soft spots, rot, or damaged sheathing. Replace any compromised boards before moving forward. A weak deck will not hold fasteners properly, and that can lead to gaps and leaks down the line.
Next, clean the entire surface. Remove debris, old nails, and any leftover roofing material. The deck should be flat, dry, and smooth. Additionally, check for any protruding nail heads and hammer them down flush. Sharp points can puncture your underlayment.
Once the deck is clean and repaired, install your underlayment. Start at the lowest point of the roof and work upward. Overlap each row by at least six inches. At valleys and eaves, add an extra layer of ice-and-water shield for added protection. These are the areas most vulnerable to water intrusion during heavy storms.
Installing Flashing the Right Way
Flashing is one of the most critical components of any roofing system. It is the metal material used to seal transitions between the roof and other surfaces. These include chimneys, skylights, walls, and valleys.
Most roof leaks happen at flashing points. This is because these areas involve changes in direction, and water naturally flows toward them. Therefore, take extra care when installing flashing.
Valley Flashing
Valleys are the V-shaped channels where two roof slopes meet. Water rushes through these areas in large volumes during heavy rain. Use continuous valley flashing made from the same metal as your panels, or from a compatible material like aluminum.
Install the valley flashing before the main panels. Secure it with clips rather than exposed fasteners whenever possible. Seal all edges with butyl tape. Additionally, make sure the flashing extends at least six inches up each side of the valley to handle high water flow.
Chimney and Wall Flashing
Around chimneys and walls, use a two-part flashing system. The base flashing attaches to the roof, and the counter flashing attaches to the vertical surface. This allows for independent movement without breaking the seal.
Apply a generous bead of sealant under every piece of flashing before fastening it. Then apply another bead along the top edge after it is secured. Do not skip this step. However, avoid applying too much sealant in one spot, as thick applications can crack over time.

Properly Overlapping the Metal Panels
How you overlap your metal panels has a huge effect on whether water gets in. This step requires precision. Even a small misalignment can create a gap that allows water to sneak under the panels during heavy downpours.
Always install panels starting from the end of the roof opposite to the prevailing wind direction. This way, the overlapping side faces away from the wind and rain. It reduces the chance of water being driven under the seams.
For corrugated and ribbed panels, overlap by at least one and a half corrugations on the sides. At the horizontal joints, overlap by a minimum of six inches on low-pitched roofs and four inches on steeper ones. Apply butyl tape between every overlapping panel joint. This creates a seal that handles even the heaviest rain.
For standing seam panels, the panels interlock along their raised edges. This system offers superior protection because it eliminates exposed fasteners at the seams entirely. However, it is more technical to install and requires careful alignment from the very first panel.
Using Fasteners Correctly to Prevent Leaks
Fasteners are a leading cause of metal roof leaks. Every hole you drill is a potential entry point for water. Therefore, it is essential to use the right fasteners and install them correctly.
Use screws with neoprene washers rather than plain screws or nails. The neoprene washer compresses when the screw is driven in, creating a watertight seal around the hole. Choose screws made from the same material as your panels or use stainless steel to avoid galvanic corrosion.
Do not over-drive or under-drive screws. Over-driving compresses the washer too much and can crack it, destroying the seal. Under-driving leaves a gap that allows water in. The screw should be snug, with the washer compressed slightly but not distorted.
Additionally, fasten into the flat part of the panel, not the raised ribs. Fastening into the ribs puts stress on the panel and can cause it to buckle over time. Space your fasteners according to the manufacturer guidelines, typically every 12 to 24 inches along the purlins.
Sealing the Ridge Cap Properly
The ridge cap sits at the peak of the roof where two slopes meet. It is one of the most exposed areas on the entire structure. During heavy rain, water hits this area with force and looks for any gap to enter.
Install foam closure strips under the ridge cap before fastening it. These strips are shaped to match the profile of your panels and fill the gaps between the cap and the corrugations below. Without them, water, wind, and insects can easily get under the cap.
Apply butyl tape along the top edges of the panels before placing the ridge cap. Then secure the ridge cap with screws at regular intervals. Finally, apply a bead of sealant along both edges of the ridge cap where it meets the panels. This triple layer of protection will keep the ridge completely watertight.
Handling the Eaves and Gutter Connections
The eave is where the roof meets the edge, and it is where water drains off during rain. A poor connection here can cause water to back up under the panels or run down the fascia instead of into the gutter.
Install a drip edge flashing along every eave before the panels go on. The drip edge directs water away from the fascia and into the gutter. It also gives the bottom edge of your panels a clean, defined termination point.
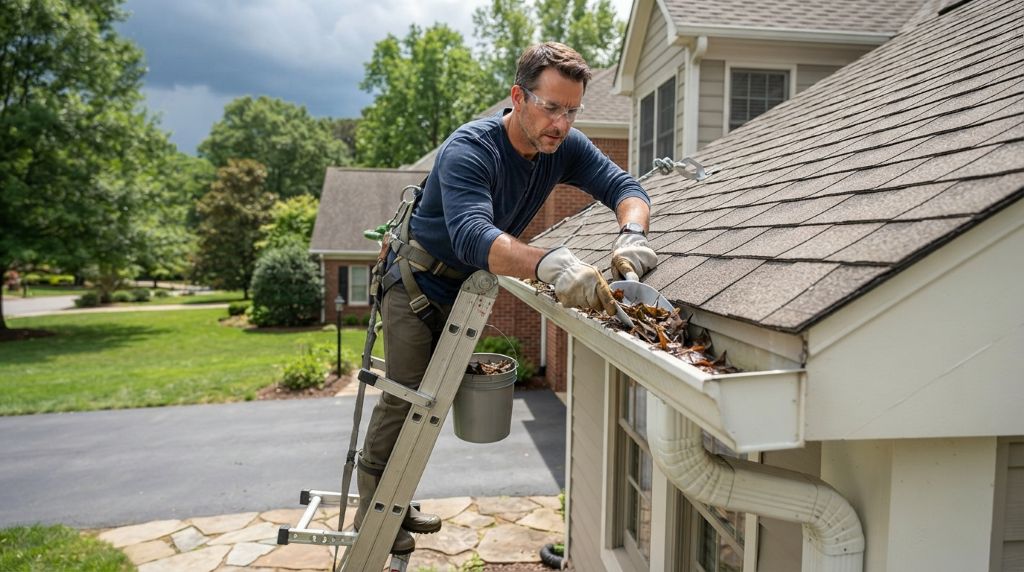
Make sure the gutters are properly aligned to catch the full flow of water coming off the roof. During heavy rain, gutters that are misaligned or too small can overflow. This sends water back toward the roof and can cause moisture problems at the eave. Therefore, size your gutters appropriately and clean them regularly.
Final Inspection Before the First Rainstorm
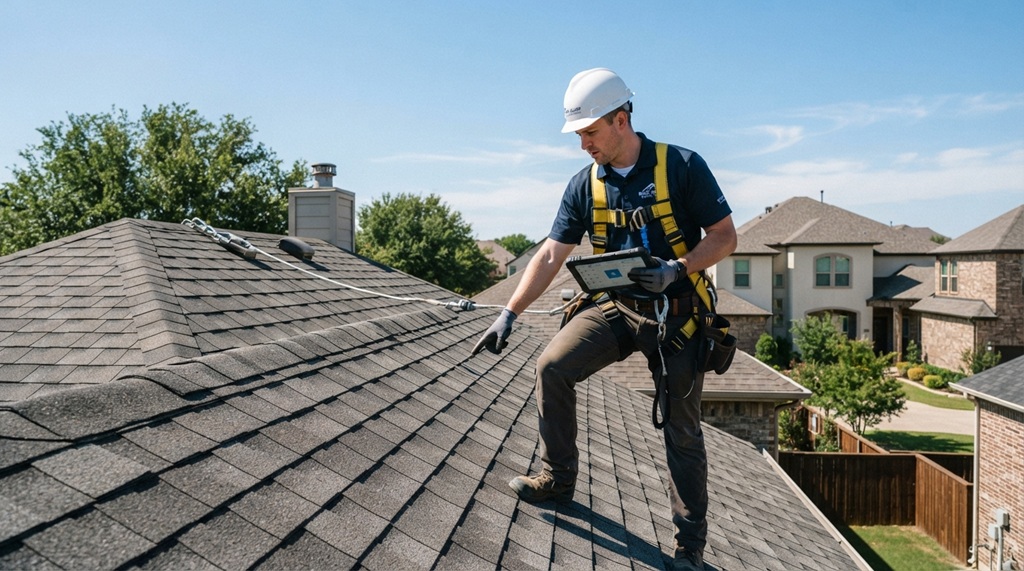
Once all panels, flashings, and ridge caps are in place, do a thorough inspection before any rain arrives. Walk the entire roof and check every seam, fastener, flashing, and transition.
Look for any areas where butyl tape was missed or sealant was not applied. Check that all ridge cap foam strips are in place and that no panels have shifted out of alignment. Additionally, look at the underside of the eaves from below for any signs of exposed gaps.
Use a garden hose to simulate rain if possible. Run water over different sections of the roof and watch from inside the attic for any signs of drips or wet spots. This simple test can reveal problems that are hard to see from above. Fixing issues now is far easier and cheaper than dealing with a leak after the roof is finished.
Conclusion
Installing a metal roof without leaks during heavy rainfall comes down to preparation, the right materials, and careful technique. It starts with choosing quality panels, a proper underlayment, and reliable sealants. From there, preparing the roof deck correctly sets the stage for everything that follows.
Flashing must be installed with precision at every transition point. Panels need to overlap correctly, with butyl tape sealing every joint. Fasteners must be driven properly with neoprene washers. The ridge cap and eave connections require special attention and multiple layers of protection.
Additionally, a final inspection before the rains come gives you the chance to catch and fix any small issues before they become big problems. Therefore, take your time with each step. A metal roof installed the right way will protect your home for decades without a single leak, even in the heaviest downpours.
Frequently Asked Questions
1. What is the most common cause of leaks in a metal roof?
The most common cause of leaks in a metal roof is improper installation at the fasteners, seams, and flashing points. Exposed or over-driven screws, missing butyl tape, and poorly sealed flashings are the main culprits. Additionally, using the wrong type of sealant can lead to cracks that allow water in over time.
2. Do I need underlayment under a metal roof?
Yes, underlayment is essential. It acts as a secondary water barrier in case any moisture gets past the metal panels. A self-adhering bituminous underlayment is the best choice for wet climates. It seals around fastener holes and provides an extra layer of protection against leaks.
3. How much overlap should metal roofing panels have?
For corrugated and ribbed panels, overlap by at least one and a half corrugations on the sides. For horizontal joints, overlap by a minimum of six inches on lower-pitched roofs and four inches on steeper ones. Always apply butyl tape between overlapping joints to create a watertight seal.
4. Can I install a metal roof over existing shingles?
In many cases, yes. Installing a metal roof over existing shingles can save time and disposal costs. However, the existing roof must be in good condition and relatively flat. You will also need to add furring strips to create an air gap and use the right underlayment. Check local building codes first, as some areas have restrictions.
5. How long does a properly installed metal roof last?
A properly installed metal roof can last between 40 and 70 years, depending on the material. Steel and aluminum roofs typically last 40 to 50 years. Copper and zinc roofs can last well over 100 years. However, regular maintenance such as clearing debris, checking sealants, and inspecting fasteners will help extend the lifespan significantly.
Related Topics:
Choosing the Right Roofer Contractor: A Complete Homeowner’s Guide
Why You Should Hire a Certified Roof Inspector Before Roof Replacement