
Your roof is your home’s first line of defense against the elements, shielding you from rain, wind, snow, and scorching sun. Yet, many homeowners overlook regular roof maintenance until a small issue becomes a costly repair. Did you know that neglecting your roof can reduce its lifespan by up to 30%? Proper care not only extends the life of your roof but also saves you thousands in replacements and repairs. In this comprehensive guide, we’ll walk you through a step-by-step process to maintain your roof, ensuring it remains in top shape year-round. Whether you’re a new homeowner or a seasoned property owner, these practical tips will empower you to protect your investment.
Why Roof Maintenance Matters
Before diving into the how-to, let’s understand why roof maintenance is critical. A well-maintained roof enhances your home’s curb appeal, improves energy efficiency, and prevents water damage that can lead to mold or structural issues. Regular upkeep catches minor problems—like cracked shingles or clogged gutters—before they escalate. According to the National Roofing Contractors Association, routine inspections and maintenance can add 5–10 years to your roof’s lifespan, depending on the material.
By following a consistent maintenance routine, you’ll also avoid emergency repairs, which can cost anywhere from $500 to $5,000, depending on the damage. Plus, a healthy roof boosts your home’s resale value, making it a smart investment for the future.
Step 1: Conduct Regular Roof Inspections
The cornerstone of roof maintenance is regular inspections. Aim to inspect your roof at least twice a year—once in the spring and once in the fall. These seasons are ideal because they allow you to address damage from winter storms or prepare for harsh summer weather.
How to Inspect Your Roof
- From the Ground: Use binoculars to scan for missing, cracked, or curling shingles. Look for signs of wear, such as granule loss on asphalt roofs or moss growth on tiles.
- Check for Leaks: Inside your home, inspect the attic or ceiling for water stains, mold, or damp spots. These are red flags for leaks.
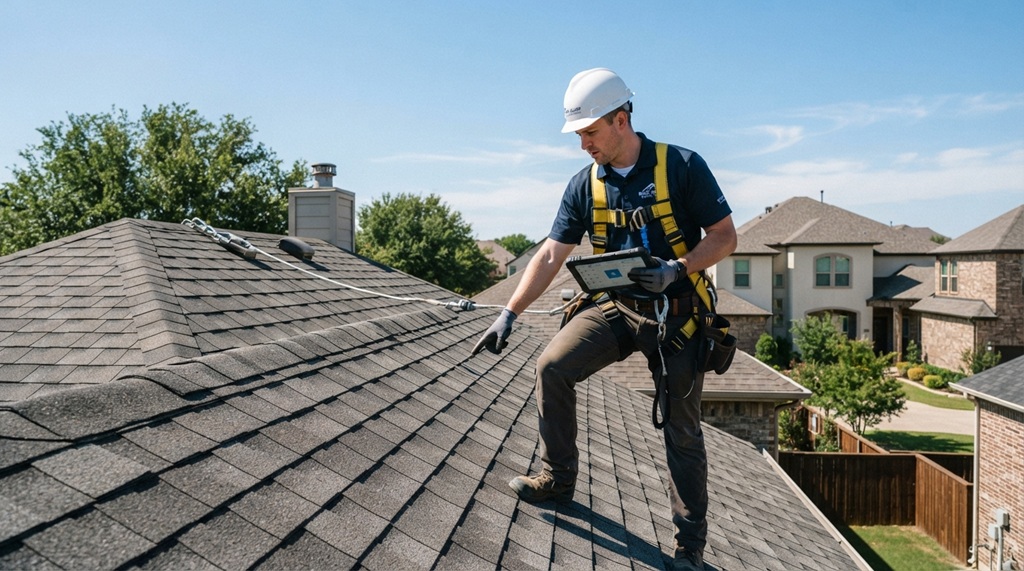
- Hire a Professional: If climbing ladders isn’t your thing or your roof is steep, hire a licensed roofing contractor for a thorough inspection. Expect to pay $100–$300 for a professional assessment, but it’s worth the peace of mind.
Pro Tip: After severe weather like hailstorms or high winds, perform an additional inspection to catch damage early.
Step 2: Clean Your Gutters
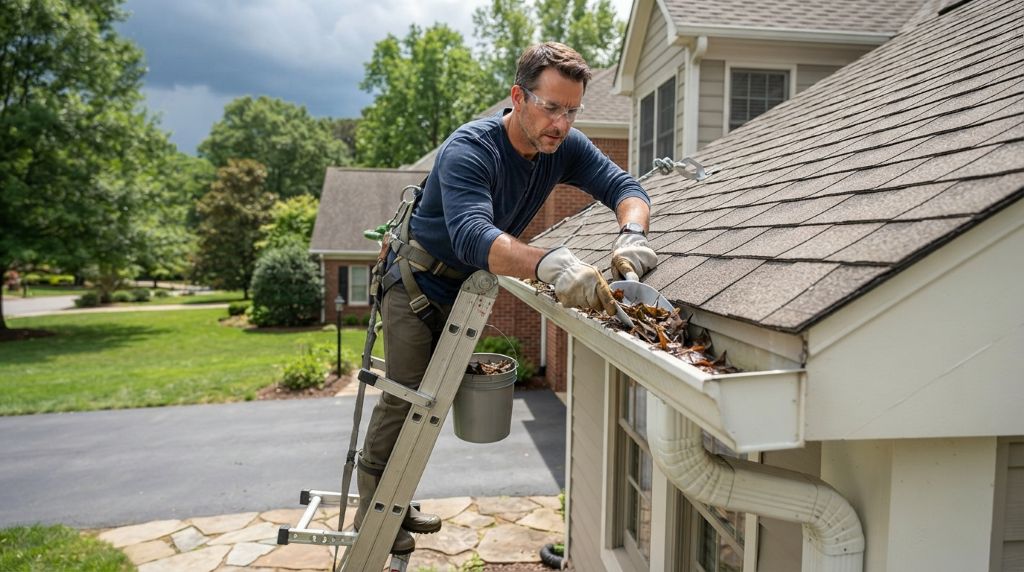
Clogged gutters are a leading cause of roof damage. When leaves, dirt, or debris block your gutters, water can back up, seeping under shingles and causing leaks or rot. Cleaning your gutters twice a year—or more if you live near trees—keeps water flowing properly.
Gutter Cleaning Tips
- Safety First: Use a sturdy ladder and have someone spot you. Wear gloves to protect your hands from sharp debris.
- Tools Needed: A small trowel, garden hose, and a bucket for debris. Consider investing in a gutter scoop for efficiency.
- Check Downspouts: Ensure downspouts are clear by running water through them. If water doesn’t flow freely, use a plumber’s snake to remove blockages.
- Install Gutter Guards: To reduce future maintenance, install gutter guards to keep debris out while allowing water to flow.
Step 3: Remove Debris from the Roof
Leaves, branches, and other debris can trap moisture on your roof, promoting mold, mildew, and algae growth. This not only damages roofing materials but can also make your roof look unsightly.
How to Safely Clean Your Roof
- Use a Roof Rake or Broom: Gently sweep debris off the roof. Avoid using sharp tools that could damage shingles.
- Low-Pressure Washing: For stubborn algae or moss, use a low-pressure washer with a mild cleaning solution (mix water with a small amount of bleach or a roof-safe cleaner). High-pressure washing can strip granules from asphalt shingles.
- Trim Overhanging Branches: Cut back tree limbs that hang over your roof to reduce debris buildup and prevent scratches during storms.
Safety Note: Always wear non-slip shoes and use a safety harness if working on a steep roof. If you’re unsure, hire a professional to avoid injury.
Step 4: Check and Repair Flashing
Flashing—the metal strips around chimneys, vents, and skylights—prevents water from seeping into vulnerable areas. Over time, flashing can corrode, crack, or loosen, leading to leaks.
How to Maintain Flashing
- Inspect for Damage: Look for rust, cracks, or gaps where flashing meets the roof. Pay special attention to areas around chimneys and vents.
- Reseal as Needed: Apply roofing sealant or caulk to small gaps. For larger issues, replace damaged flashing with new material.
- Hire a Pro for Complex Repairs: If flashing is extensively damaged, a professional roofer can ensure proper installation to prevent leaks.
Step 5: Address Shingle and Tile Issues
Damaged or missing shingles and tiles compromise your roof’s ability to protect your home. Regular checks help you spot and fix these issues early.
How to Handle Shingle and Tile Repairs
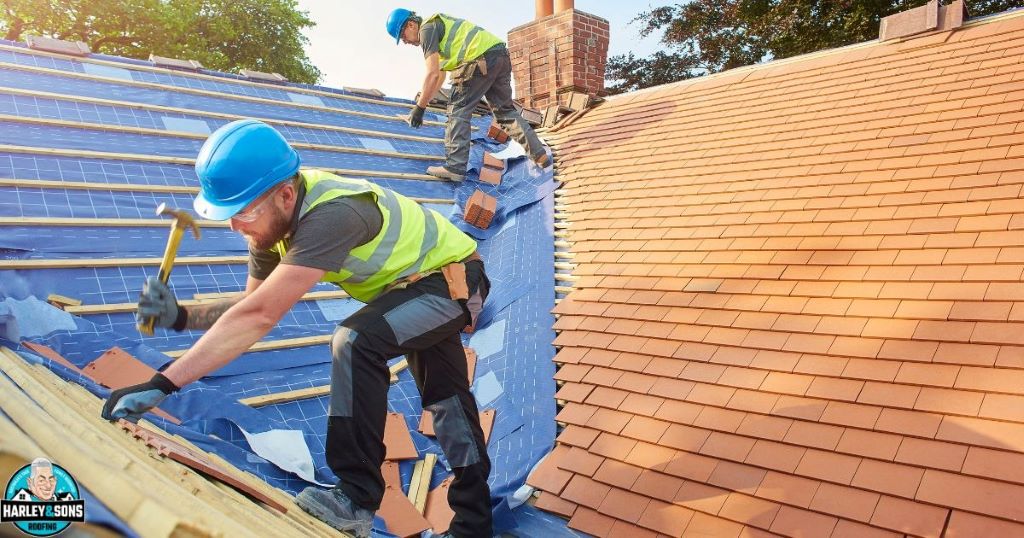
- Replace Missing Shingles: Purchase matching shingles from a hardware store. Slide the new shingle into place and secure it with roofing nails, then seal with roofing cement.
- Fix Cracked Tiles: For clay or concrete tiles, replace cracked pieces carefully to avoid damaging surrounding tiles. This may require professional help for precise alignment.
- Check for Granule Loss: If asphalt shingles are losing granules, it’s a sign of aging. Consider a full roof replacement if granule loss is widespread.
Pro Tip: Keep a few extra shingles or tiles from your roof’s installation for seamless repairs.
Step 6: Prevent and Treat Moss and Algae
Moss and algae thrive in shady, damp areas, especially on north-facing roofs. While they may look harmless, they can lift shingles and cause water to pool.
How to Manage Moss and Algae
- Apply a Moss Inhibitor: Use a commercial moss inhibitor or a homemade solution (1:1 water and vinegar) to kill moss and algae. Apply with a sprayer and let it sit before rinsing.
- Install Zinc or Copper Strips: These metal strips release ions that prevent moss and algae growth. Place them near the roof’s ridge for best results.
- Improve Ventilation: Poor attic ventilation can trap moisture, encouraging growth. Ensure your attic has proper vents to promote airflow.
Step 7: Insulate and Ventilate Your Attic
A well-insulated and ventilated attic prevents ice dams in winter and reduces heat buildup in summer, both of which can damage your roof.
Attic Maintenance Tips
- Check Insulation: Ensure your attic has adequate insulation (R-30 to R-60, depending on your climate) to prevent heat loss.
- Inspect Vents: Clean ridge vents, soffit vents, and gable vents to ensure proper airflow. Blocked vents can trap heat and moisture, damaging your roof from below.
- Look for Condensation: Condensation in the attic signals poor ventilation. Address this by adding vents or a powered attic fan.
Step 8: Schedule Professional Maintenance
While DIY maintenance is valuable, a professional roofer brings expertise and can spot issues you might miss. Schedule a professional inspection every 3–5 years or after major storms.
What to Expect from a Professional
- Detailed Assessment: Professionals use drones or climb onto the roof to check for subtle damage.
- Repairs and Upgrades: They can handle complex repairs, like replacing large sections of flashing or installing new vents.
- Warranty Protection: Many roofing warranties require professional maintenance to remain valid.
Pro Tip: Choose a licensed, insured contractor with good reviews. Check platforms like Angi or HomeAdvisor for reputable local roofers.
Common Roof Maintenance Mistakes to Avoid
- Ignoring Small Issues: A single missing shingle can lead to leaks, so address problems promptly.
- Using Harsh Cleaners: Avoid high-pressure washers or abrasive chemicals that can damage roofing materials.
- Skipping Safety Gear: Always prioritize safety when working at heights to prevent falls.
Conclusion: Protect Your Home with Regular Roof Care
Maintaining your roof doesn’t have to be overwhelming. By following these steps—inspecting regularly, cleaning gutters, removing debris, and addressing minor repairs—you can extend your roof’s lifespan and avoid costly damage. Start by scheduling your next inspection or cleaning session today, and take pride in knowing you’re protecting your home’s most vital asset.
Call to Action: Have you inspected your roof this season? Share your top roof maintenance tips in the comments below, or contact a local roofing professional to schedule an inspection. For more home maintenance guides, subscribe to our blog and never miss an update!
Read More:
Roof Repair vs. Replacement: Key Differences, Costs, & When to Choose
Safeguarding Your Home’s Fortress: The Essential Guide to Roof and Attic Insulation Inspections